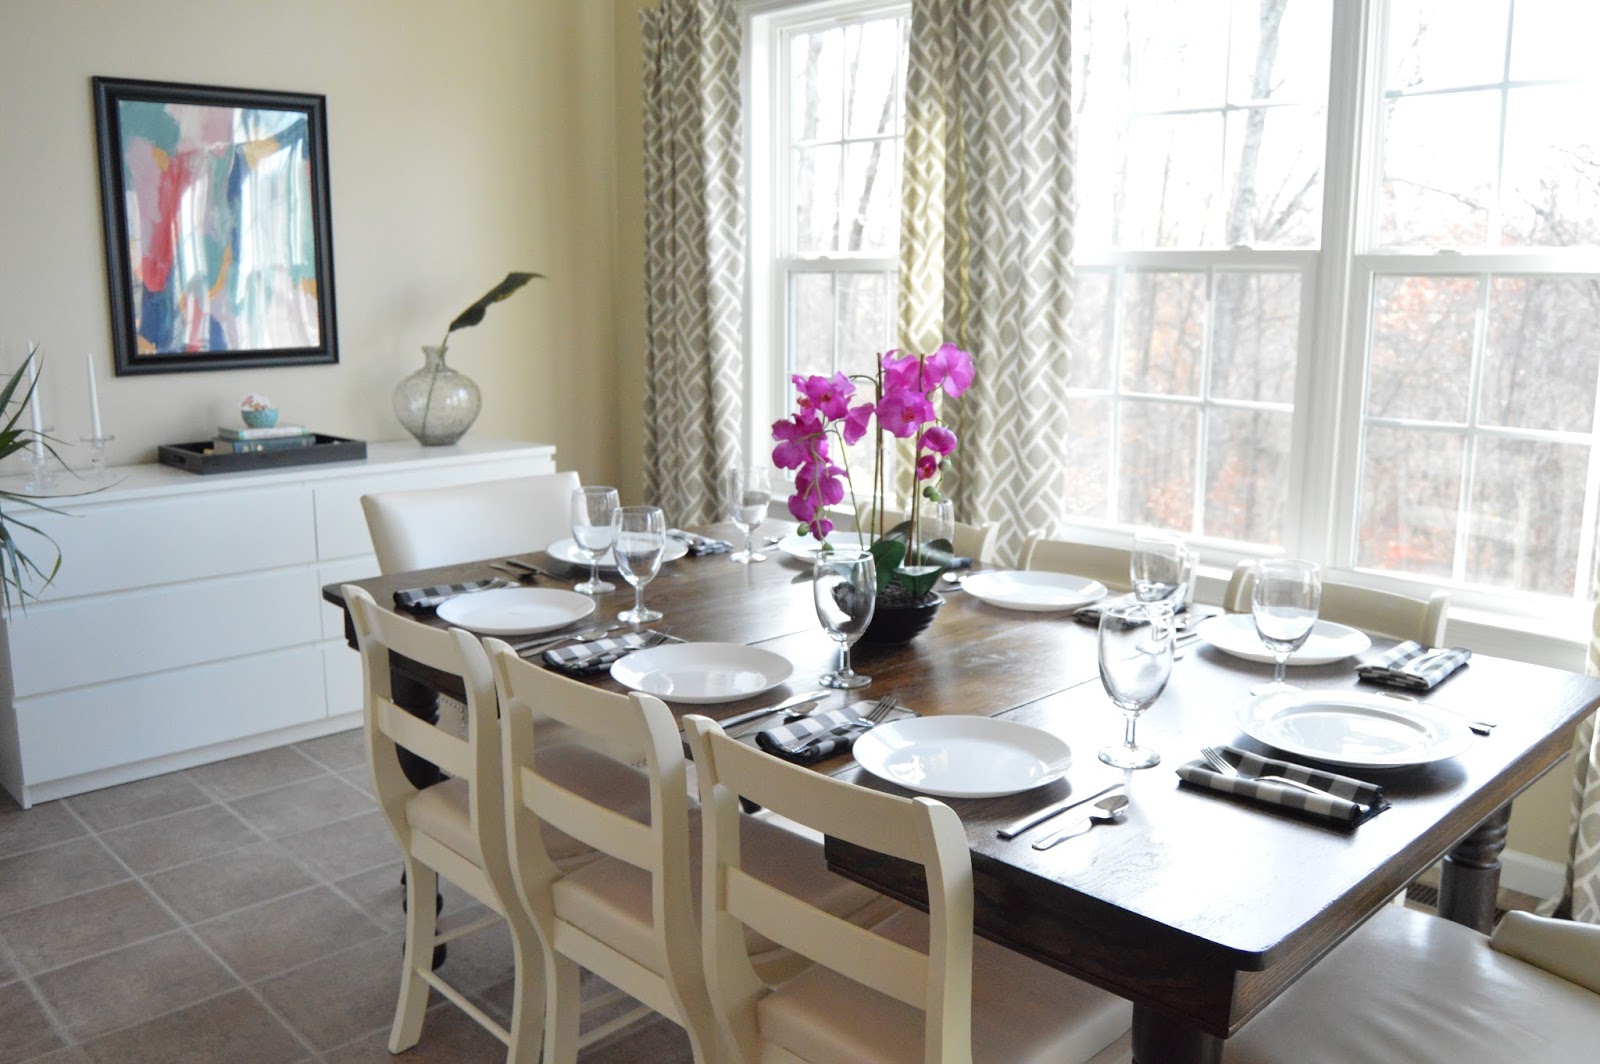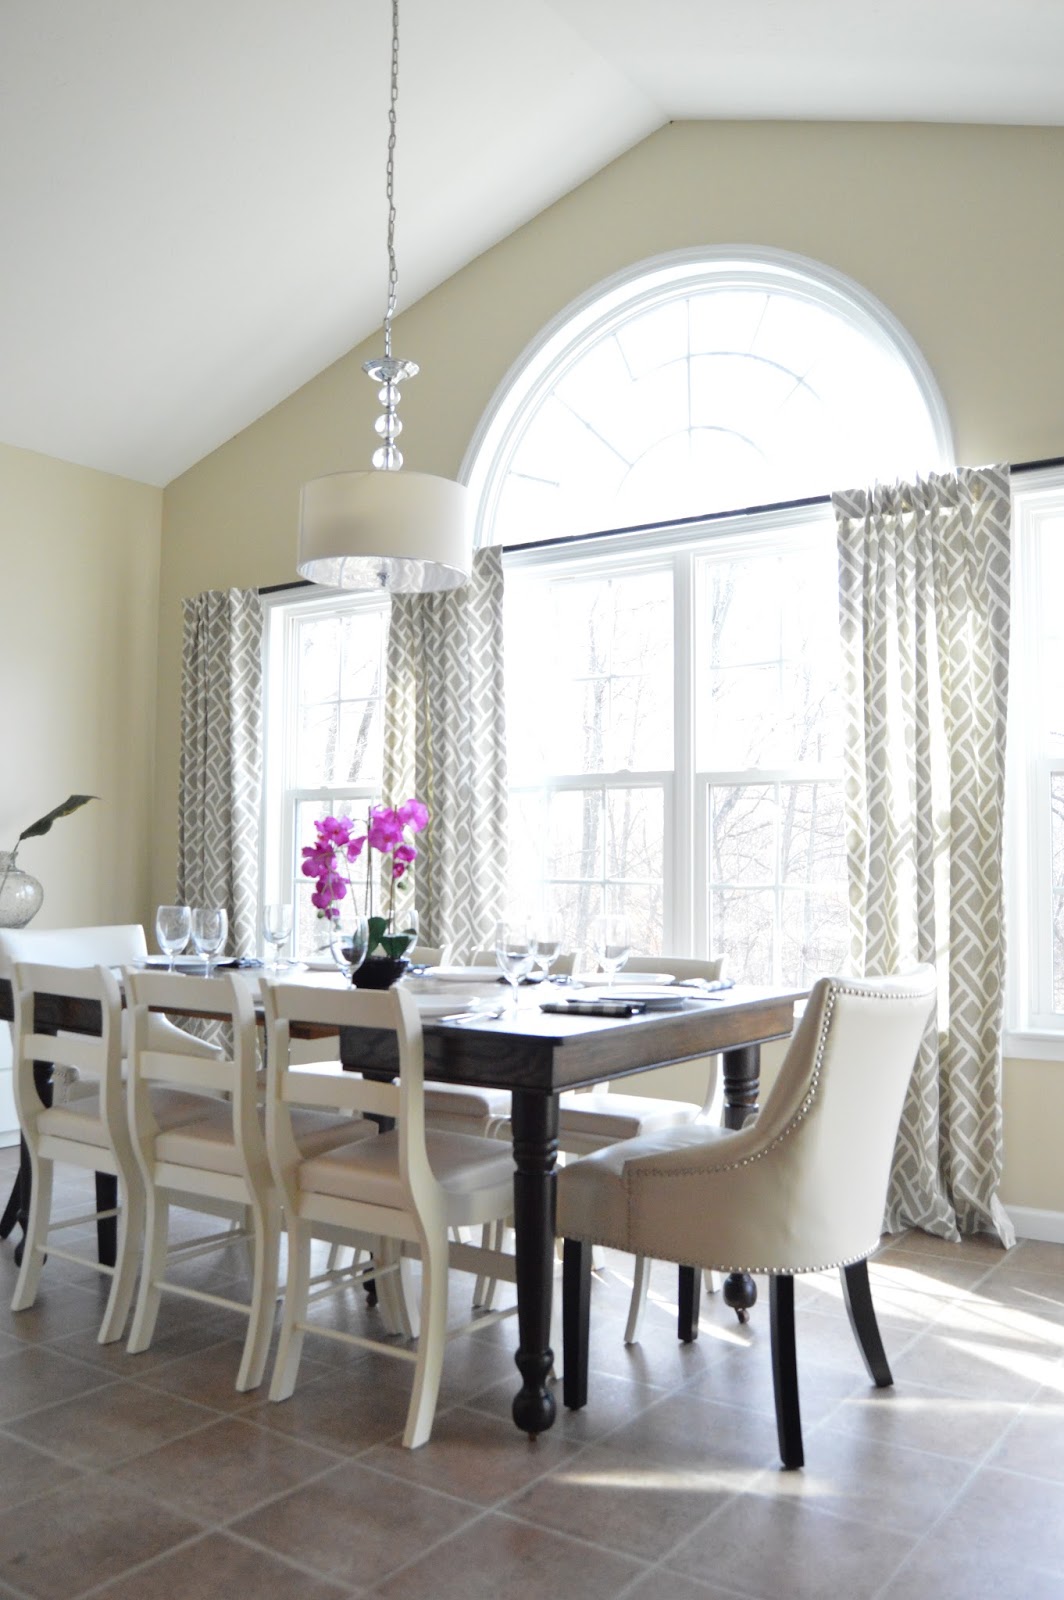
The first item on my list of goals was to update the morning room. As my style transitioned, this room was stuck in it's dark & dreary past. I finished it up in November as part of the fall One Room Challenge. You can see the reveal here as well as links to all the projects.

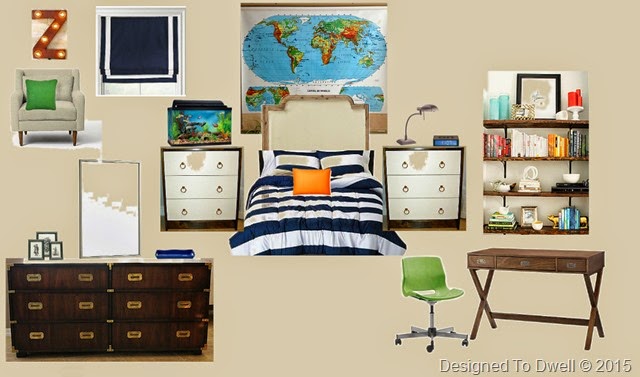
One of the first projects I started to tackle in 2015 was my son's bedroom makeover. His room slowly evolved from a small dark bedroom to a bright spacious room with the help of new paint & space saving furnishings. You can check out the reveal here.

My daughter's room was also in need of a makeover this year, as she had grown out of the sweet, princess room from her preschool years. Her room now is much more cheerful & suited to her fun-loving personality. You can see the reveal post here.

The one item that we did not finish (or really even start) was the master bedroom makeover, which leads me into my goals for 2016!
When we had our house built over six years ago, I didn't think we would still have rooms & projects that were unfinished. This is the year I hope to start improving on some much needed areas in our home. I don't know why, but I really want it to be finished enough that if we had to suddenly move, the house would be ready to list. (Moving is not at all in the plans at this point though! I really love our home & hope to stay here for a while longer!)
1. Master Bathroom
That being said, the first room I would like to tackle in 2016 is the master bathroom. I'm sure you can't tell from the pictures, but this room is disgusting! I would love to replace the floor & tile, but that won't be in the budget for years, so I plan on focusing on simple changes to improve this room. I hope to paint the walls & cabinets, add shelving above the toilet, replace some of the trim, & add new curtains & accessories.

2. Master Bedroom
Once the master bathroom is spruced up, I plan on moving into the master bedroom. This is another room that hasn't been touched since we moved in. Well, we did purchase a new headboard & chairs last year, when I thought I might actually get around to decorating this room, but then I lost focus! This year I hope to paint the walls, replace the dresser, nightstands, bedding, & mirror, & add art & accessories.


I hope the main focus for us this year can be the back yard. Once we realized how sloped our backyard was (after building) we planned on building a two-tiered retaining wall to span the width of the backyard. While that won't happen this summer, getting these other exterior spaces in shape will help us prepare for those future projects.
3. Fire Pit/ Picnic Area
Two years ago we bought supplies to build a retaining wall to the right of the fire pit area. The wood is still sitting in our basement waiting to be used. This is the year, I plan on getting that out of the basement. Then, we'll add a picnic table & the hammock we got my husband for Father's Day (two years ago).
Due to a drainage issue, the fire pit stairs & patio are a mess & will need to be worked on. I also want to add a small deck behind the Adirondack chairs, to add space for more chairs & stain the fire wood storage box.

4. Deck
We need to replace several boards on the deck & it is in need of a good staining. Our umbrella & table will hopefully get replaced this year too.

5. Play Space
The final outdoor area that needs some help is the kids play area. We really need a sandbox cover, toy storage, & I am hoping to add some additional play areas for the kids.

So, that's what I would really like to happen on the home front this year. We'll see how far we get!