Girl’s Bedroom Makeover: Third Time’s a Charm

They say the third time’s a charm, & it certainly worked for the curtain dilemma I had gotten myself into for the One Room Challenge (although I really wish I could say, “first time’s a charm”).  (Click to catch up on weeks one, two, three, & four.)

When I posted my plan for my eight-year-old daughter’s room, I mentioned possibly using Ikea Vivan curtains.  I checked them out in the store & thought they would be a great choice since the color was very close to the curtains on my mood board & they matched one of the three shades of pink in the pillow fabric I was using, plus they were only $10 a pair.  Then, I got home, ironed them all, & hung them in the room.
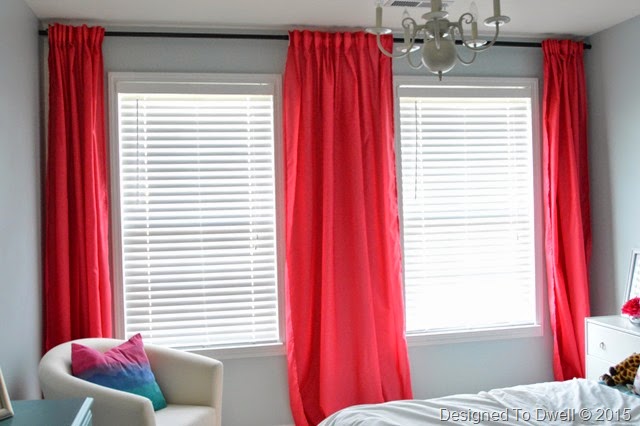
Ikea Vivan Pink Curtains

Once hung, the curtains felt completely wrong for the space.  The color was too bold & I just did not like the way they looked.  I decided to leave them up for a while to see if they grew on me, but after a couple of weeks, I decided they needed to go & made another trip to Ikea, this time to buy Ritva curtains to dye pink.  (Totally copied this idea from Little Green Notebook.)  I picked up a bottle of Cherry Red Rit Dye, poured half of it in 12 gallons of water (I used a plastic storage tub) & put my wet curtains in the water.  I let the curtains soak for about seven minutes before checking them, since the Rit website said to let the fabric soak for 10- 20 minutes or until the desired color was achieved.  I thought the 10 minutes was a minimum time, to allow the color to soak in.  After washing & drying them, I realized they were the exact same color as the curtains I didn’t like!  (Can you tell which is which in the photo below?)
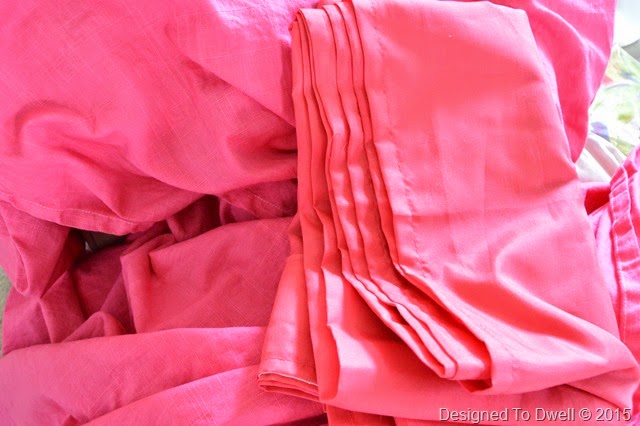
Dyed Curtains

I spent the next 24 hours trying to remove the color from the curtains using Rit Color Remover.  I poured a package in seven gallons of water & soaked one curtain panel.  After a few hours the curtain was a very faint shade of pink.  Wanting to save time, I decided to use the washing machine method for the other two.  After an hour long cycle the curtains were unchanged.  I put them in the plastic tub that I had used for the first panel & after soaking for about 24 hours they looked like this:
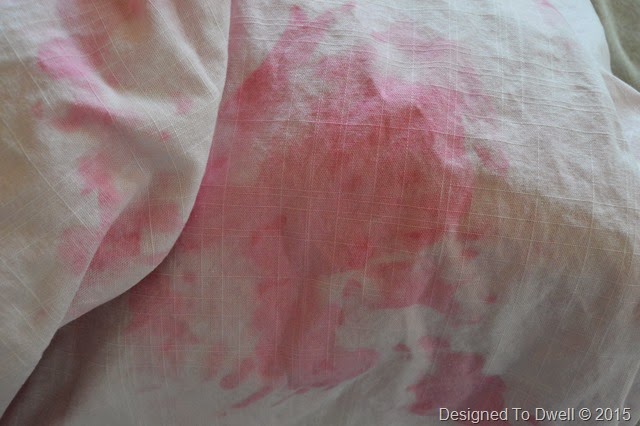
Color Remover

Looking at these now I probably should have just tried to dye them again, but instead, I went back to Ikea for the third time & bought two more sets of Ritva curtains.  This time, I used the same mixture 4oz. cherry red rit dye with 12 gallons of water.  We basically  dipped the curtains in & immediately pulled them out of the water, rinsed them, & washed them with detergent. 

DIY Pink Dyed Curtains

It’s not a perfect match, but this shade of pink goes with the room much better.
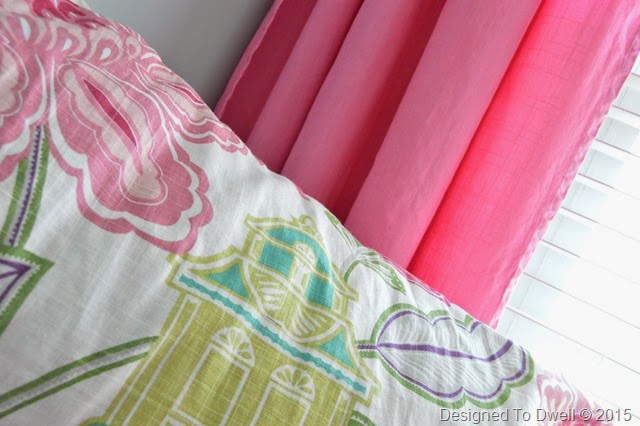
Pink, Green, & Turquoise

I just have one more project to complete before I am finished with Elie’s room!  Please hop on over to Linda’s blog & check out the other makeovers in progress.


Also sharing at Life on Virginia Street as part of DIY Summer School

Girl’s Bedroom Makeover: Free Art

I am more than halfway through the One Room Challenge, where I am trying to make over my daughter’s bedroom in just six short weeks!  My plan is coming to fruition with paint on the walls & the furnishings installed.  Most of the remaining work is sewing & zhushing.  I am avoiding painting the bedframe getting a little ahead of myself styling the room, but couldn't wait to get started framing some free prints I found while perusing the internet. 

DSC_0981

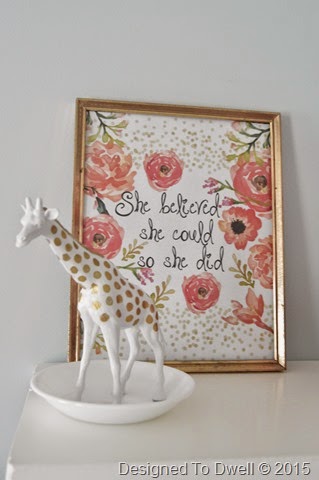
I thought this “She believed” print was so adorable, I knew I had to find a place for it in my daughter’s room.  It is filling up some vertical space on her bookshelves, along with this knockoff Anthropologie trinket dish I copied from A Gathered Home.  When I originally saw it on Pinterest, I knew I needed to include it in Elie’s room, since giraffes are her favorite animal.

DSC_0982

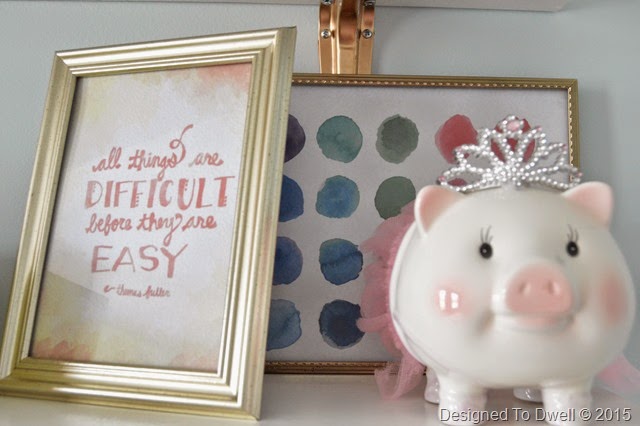
My husband & I are hoping this quote about “Difficult things” will inspire our daughter to persevere through difficult tasks & circumstances.  The circles print behind it can be found here.

DSC_0994

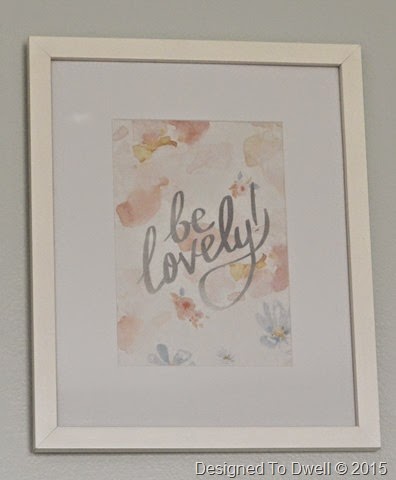
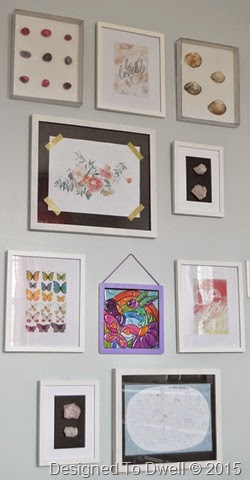
I chose this “Be lovely” print to hang as part of a gallery wall between the two doors in Elie’s room.  I love the faint colors in it. 

DSC_0990

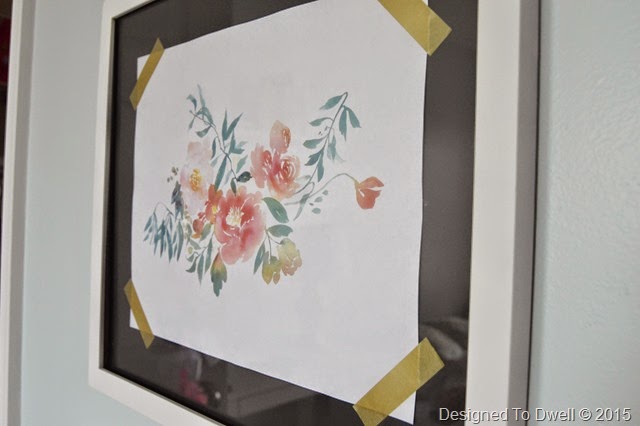
This floral one is probably my favorite.  I taped it to a piece of black poster board with some gold washi tape.  (Sorry for the crazy angle—it’s hard to photograph these without glares, since they are directly across from windows.)

DSC_0988

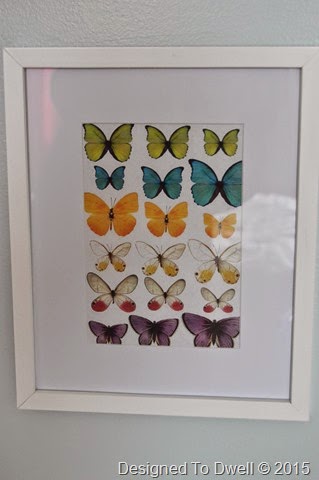
I liked the vibrant colors in this butterfly print.

DSC_0989

Just a pretty reminder that being herself is beautiful!  My husband doesn’t get this one, but I think it’s cute & I like the message.

DSC_0972

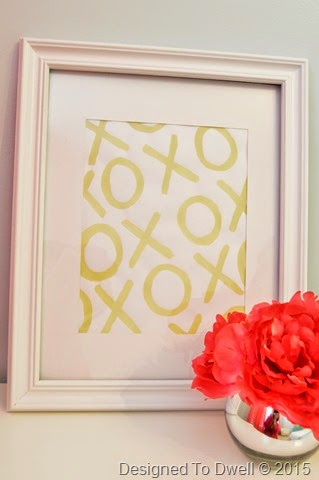
I saw a print just like this at Hobby Lobby & replicated it for free!  I already had an old white frame, mat, & chartreuse paint at home.  It is the perfect art to sit on Elie’s nightstand & remind her how much her family loves her.

DSC_0984

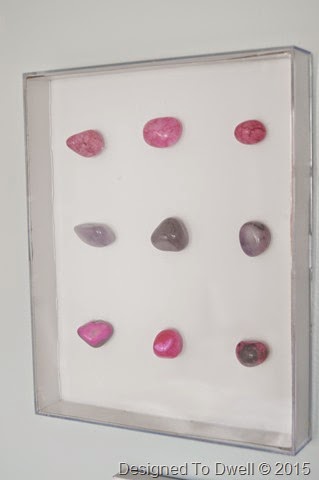
I framed some of Elie’s polished stones & shells (not pictured) in an acrylic box frame.

DSC_0986

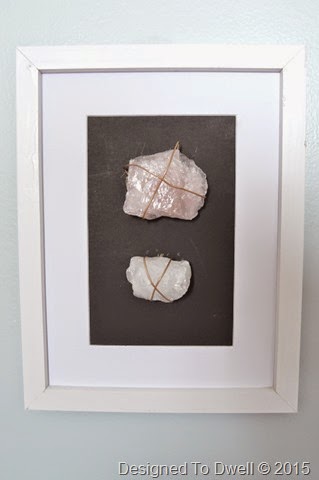
I also framed some of her pretty rocks.  I wrapped some wire around them & poked it through a piece of black poster board for mounting.

DSC_0996

Here is a link to the constellation printable on the bottom row.  I couldn't get a good picture of it on it’s own.

You can find some other cute printables on my board for Elie’s room and my board for printable art

Now, I’m off to check out all the good projects going on at Linda’s for the One Room Challenge!


Also sharing at the Best of the Nest party.

Girl’s Bedroom Makeover: The Furnishings

Welcome back to another One Room Challenge update!  Believe it or not, but I have chosen to take on a challenge to finish up one room in my home in just six weeks.  Today is technically the third week.  I have been working on my eight-year-old daughter’s room (Elie).  You can see my plan for it here

I am really hoping this room turns out looking good, but I’m starting to have my doubts.  Spoiler alert—we hung some curtains & I think they are all wrong.  Time will tell!  I’m hoping they look better once we get the bedding & accessories in place.So, back to this week—Basically, I spent my time assembling, painting, & top coating the main furniture pieces for the room. 

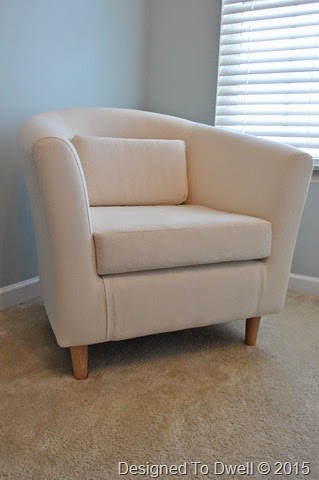
I took a trip to Ikea with my three-year-old & eight-year-old & picked up this Tullsta chair.  It’s actually a pretty light-weight chair, but I felt like tough stuff carrying it up the stairs myself!

DSC_0885

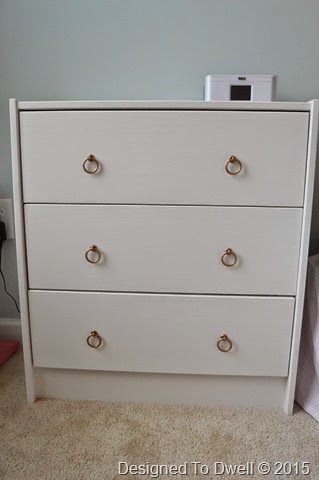
Another empowering moment for me…assembling this Rast dresser (after painting & polycrylic-ing it).  Usually I leave all the assembling up to my husband, but he was out of town & I was anxious to make use of the storage this provides.

DSC_0895

I absolutely love using these as nightstands in kids rooms.  They are a good size & provide a good deal of storage.  The top drawer holds randoms, the middle drawer holds socks & undies, & the bottom drawer contains pajamas.  Yay for more storage in Elie’s dresser!

Those gold ring pulls were a DIY inspired by Sarah M. Dorsey.  I already had an extra set of Ikea curtain rings I wasn’t going to use, so I used them instead of the rings from the original tutorial. 

DIY Ring Pulls 2

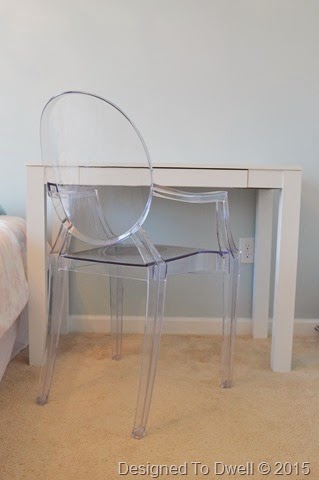
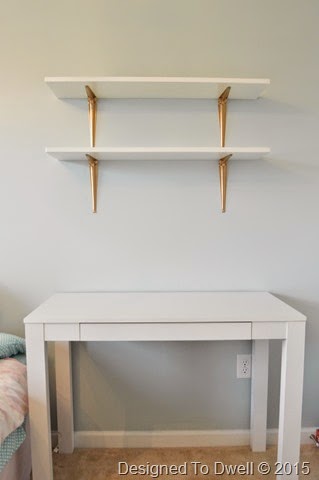
I ordered this parson’s desk from Wayfair on Friday night around 5 pm & it was at my house by 3 pm the next day with FREE shipping!  (It must have been on sale when I ordered it because it was only $52.)

DSC_0888

I got another great deal on the lucite ghost chair that I won on a local auction site for $25!  I’m kind of jealous of my daughter for getting it!  I have at least three more places in my home I would love to have one of these chairs…  Maybe I will get lucky again!

DSC_0898

When my husband got home, I was ready for him to hang some shelves above the desk.  I have been working on styling them, but need to get some more accessories to fill them up.

To sum up today’s post, three important things to include when making over a kid’s space are: storage (bookshelves/nightstand), a comfy place to read, & a place to study—among other things, like a place to sleep, but we’ll get to that next week (I hope)!

Be sure to check out all the awesome room makeovers happening as part of the One Room Challenge!

Girl’s Bedroom Makeover: Paint, Paint, Paint

This past week has been dedicated to all things paint for my daughter’s room makeover.  Well, not quite all things paint—I have a few more things I need to paint for the room! 

DSC_0877

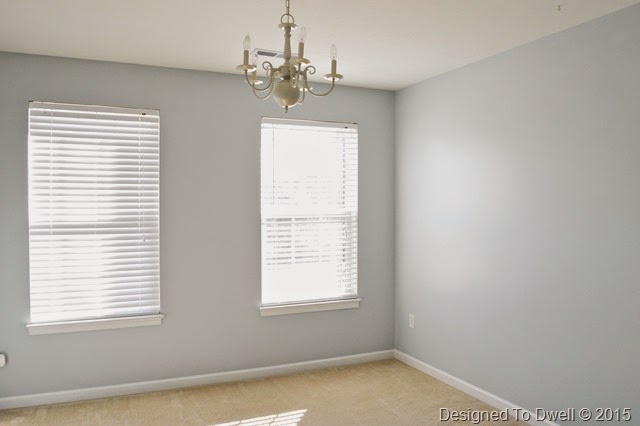
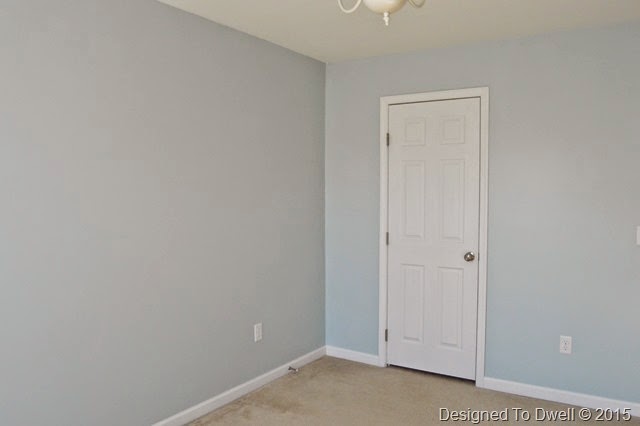
Elie chose Cosmic Rays paint (by Olympic) for the wall color.  It is the same color we used in our family room.  (For some reason it is reading as a light lavender in the pictures, but it is actually a light blue-ish gray color.

DSC_0876

I also painted the doors & trim in her room.

DSC_0956

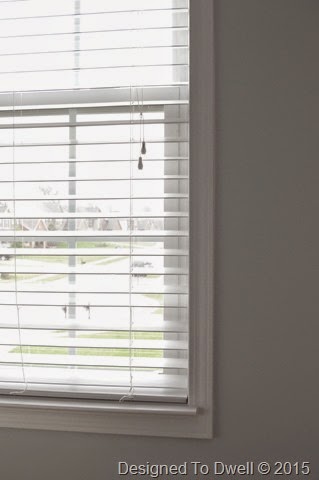
Speaking of trim, my husband added some around her windows.

DSC_0878

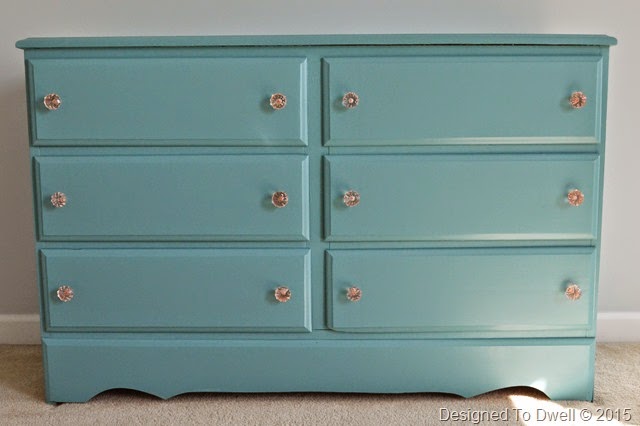
I also painted her dresser turquoise (Aqua Bay by Olympic).  We used this color on the Tarva chest in the family room.  I really love the color in there, but I’m not really liking it on this dresser.  Maybe it’s the pink knobs or the lines at the bottom of the dresser that are throwing it off for me.  Hopefully, it will work out, because I really don’t want to re-paint it!

As for the upcoming week, boxes are starting to arrive & I did make the trek to Ikea, which means furniture assembly & painting await me!  Be sure to check back in for more progress next week!  You can see my plans for the space here.

If you are looking for some inspiration, be sure to check out all the other linking participants taking on the One Room Challenge.  In just four more weeks, there are sure to be some amazing spaces thanks to Linda’s motivation!

Girl’s Bedroom Makeover: Pictures & Plans

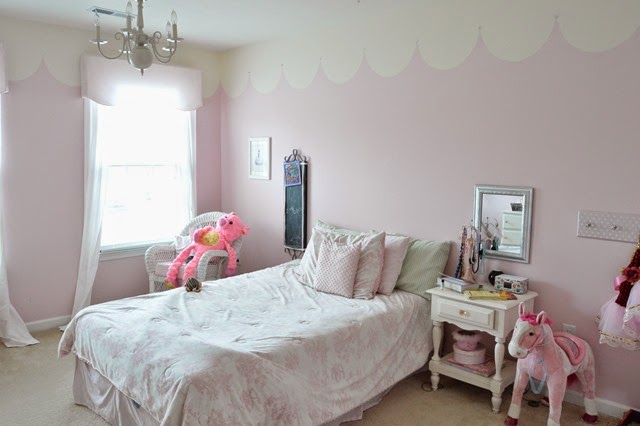
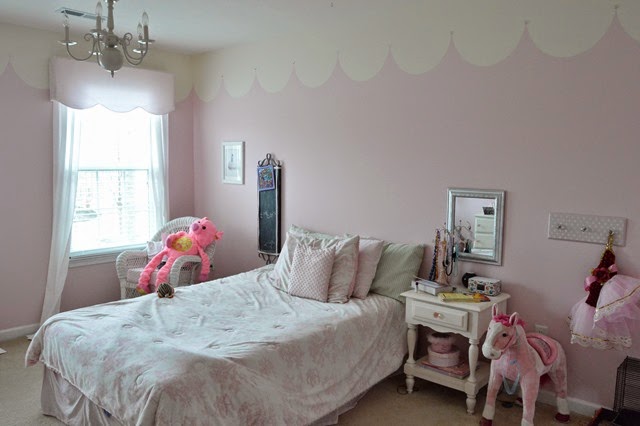
Now that my son’s room is nearly finished, I decided to move on to make my daughter’s room more appealing.  It has pretty much been a disaster zone since we moved the full-sized bed out of the nursery & into her room nearly three years ago!  Want proof?

DSC_0854

It may not be obvious from the pictures, but the bedding is too small (& ripped & stained), there are only two working light bulbs in that fixture, & her nightstand is overflowing!  It is high time to address this mess!

Here are my plans:

OB-Elie's Room

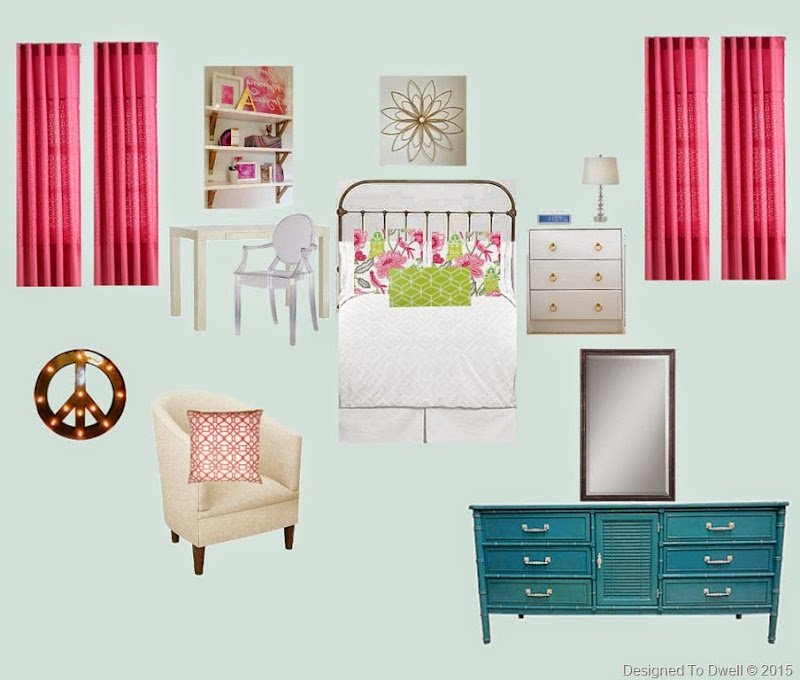
The light fixture, bed, & dresser are staying.  Pretty much everything else is going.  The walls will be painted (probably Cosmic Rays or Honesty by Olympic Paints).  I plan on using a brass headboard I’ve had in the basement for a few years, along with plain white bedding & pillows that will bring in Elie’s favorite color, spring green.  The bed will be flanked with an Ikea Rast dresser (for added storage) & a white parsons desk & lucite chair.  We will add a couple of white shelves above the desk for even more storage.

DSC_0855

The windows will be dressed in pink curtains (Ikea Vivan perhaps?) & in the corner between the window & dresser will be a Tullsta chair.  We will test our DIY skills with a peace sign marquee above it.  Her dresser will get a makeover in a happy turquoise color & I may change out the mirror for one that can be hung vertically.

DSC_0856

The space between the two doors will be a gallery wall of special treasures & artwork.

DSC_0857

And it will all be finished in less than six weeks, thanks to the One Room Challenge Link Party, hosted by Linda from Calling It Home.


This will be my third time participating in the linking party.  I'm hoping to have the same success this time as I did with my kids' bathroom...


Be sure to stop back next week for an update.  I hope to get a lot of shopping & painting finished this week!  You can see some of my inspiration as well as sources on my Pinterest board.


LinkWithin

Related Posts Plugin for WordPress, Blogger...