ORC Week 5 Bathroom Stall…

The kids’ bathroom redo is not going as well or as easily as I had hoped.  It’s almost comical now how nearly every project has had some sort of mishap.  Let’s take a look at what has gone wrong during this challenge:

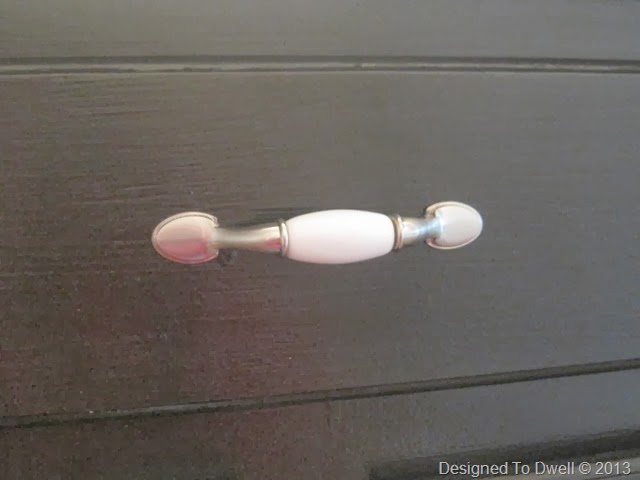
1. After painting the vanities black, I had my husband install some handles on the faux drawer fronts under the sink.  Doing that caused the paint to peel off the entire drawer front on one drawer.
IMG_7941

It looks much better now, but I think the lesson is that when using “self priming” paint, you still need to prime the surface first, especially if you are painting over a glossy finish.

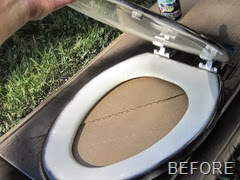
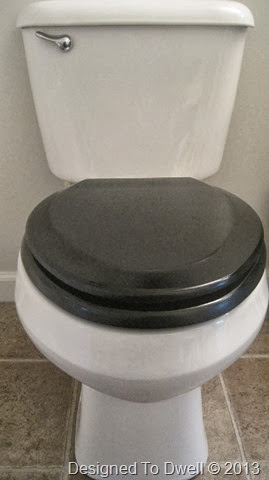
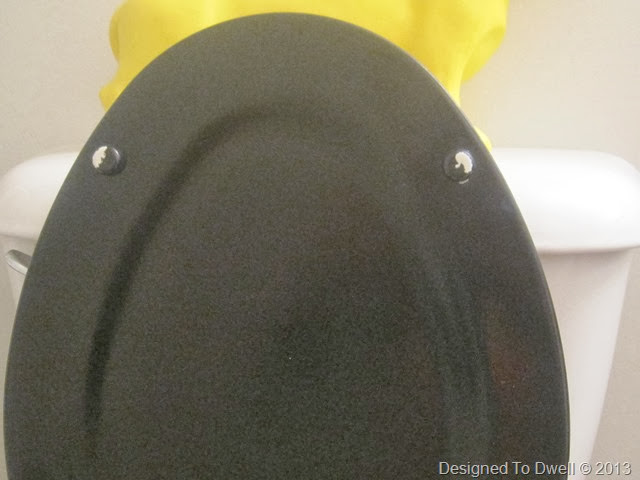
2. My kids spent three weeks without a toilet seat, since it took me that long to spray paint it.  Every time I would flip it around to paint another section, the paint would chip off of the previously painted part.  Here is what the toilet seat looks like today:
IMG_7940

I’ll be pulling the trigger on this one pretty soon!

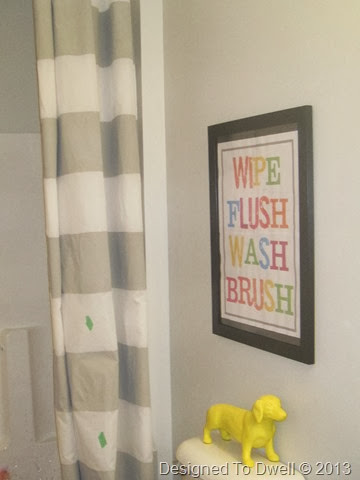
3.  After spending a couple of hours painting some curtains for the shower, I had several mishaps.  The paint bled (due to my watering it down), my hand/roller slid onto a “white” stripe, & my toddler made footprints through several spots!
 IMG_7938

It doesn't look so bad from a distance, but I can’t handle the imperfections up close:
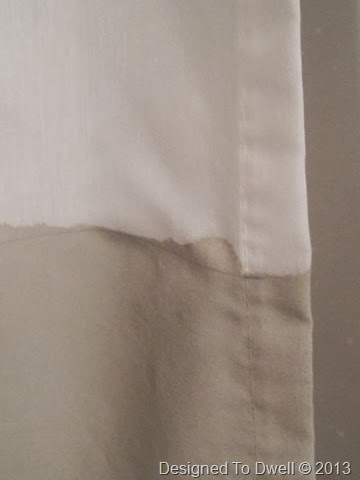
IMG_7939

I've ordered some custom-made curtains, but they are coming from Hong Kong!  I’m really hoping I get what I ordered & that they get here before next week’s reveal!

To add to all the DIY failures, I have had some design dilemmas.  Obviously, I have varied from my original plan & decided to add some pattern to the shower curtains.  I’ve also changed my mind on the black & white towels & decided to add some color.  You’ll have to wait for the reveal to see them though!

On top of all that, I paid for a shower curtain rod & never brought it home… or so I thought!  After searching the house, I called the store to tell them I must have left it there.  They kindly let me grab another one.  Two days later I found the rod in my closet!  Looks like I’ll be returning one of them back to the store (hangs head in shame!)…

So, have you ever had projects where nothing seems to go right?  The good news is, I think the bathroom is going to look great, once it’s actually finished!

I'm sharing this post as part of the One Room Challenge Link party at Calling It Home.  Be sure to stop by & check out all the awesome makeovers going on!


Fall Touches Around the House

Here are a few simple touches of fall around our house…

Hanging Indian Corn

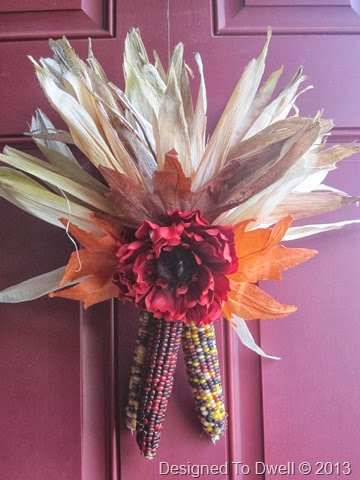
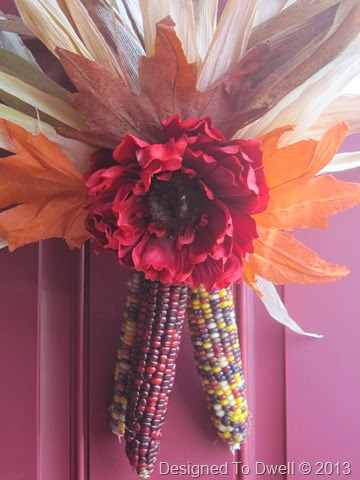
I used some Indian corn, faux leaves, & an artificial flower to create fall décor for the front door.

Fall Decor

When I took the packaging off the corn, the husks had taken on a funky shape.  To straighten them out, I soaked the husks in a sink of warm water for about 5 minutes & then hung them upside down to dry.  An hour or so later, I rubber banded them together where the corn & husk meet.  Then I stuck in three leaves & used hot glue to adhere a flower.

Fall Decor

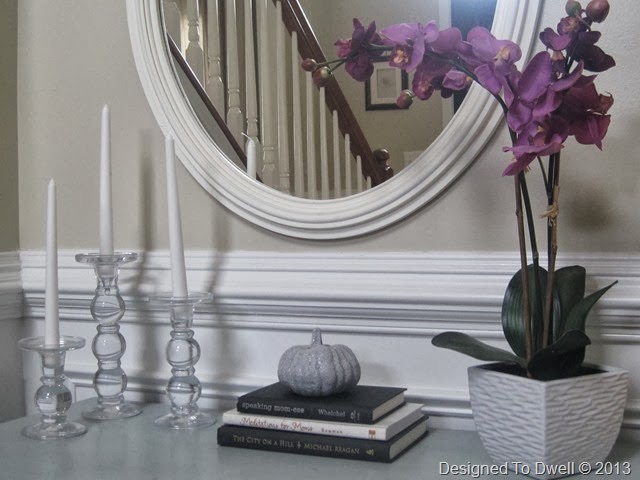
I spray painted a fake pumpkin & added it to the entry table.

Fall Decor

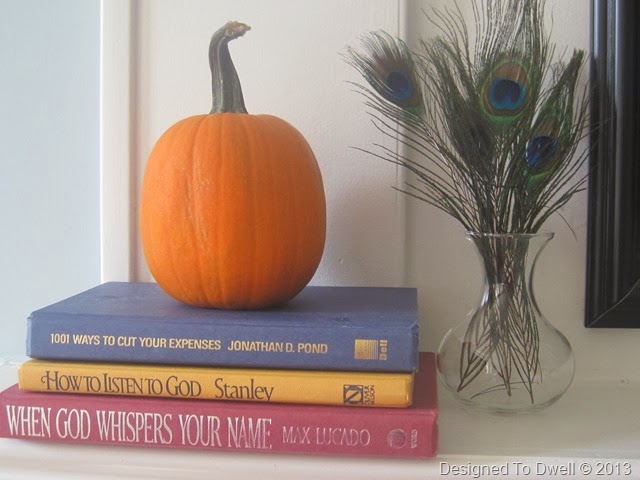
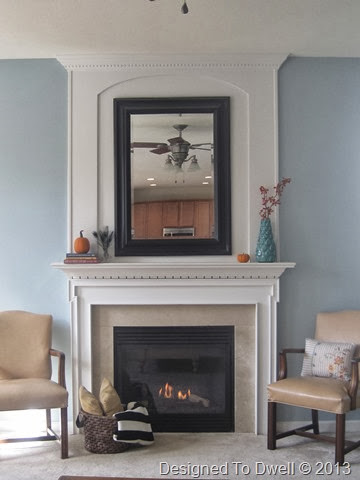
This year, I changed up the mantel too.  On one side I used a pumpkin & some peacock feathers ($2.99/2 at Hobby Lobby) to create a more seasonal look.

Fall Mantel

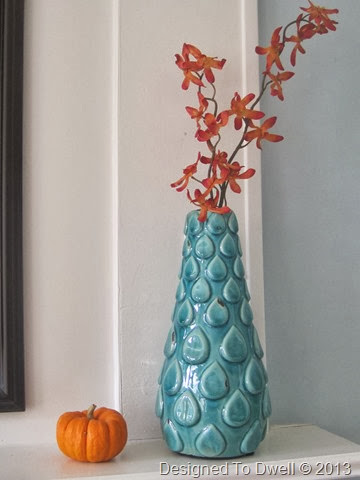
I added an orange floral stem to my turquoise vase & a small pumpkin on the other side.

Fall Decor

With a nice fire, some pillows, & a blanket, it is feeling cozy in here.  That’s a good thing, because it’s about to get cold!

Click here to see how I decorated last year!

Updating a Toilet Handle & Seat

It’s time for week four of the One Room Challenge bathroom makeover.  This week, I gave a couple of upgrades to our toilet area.


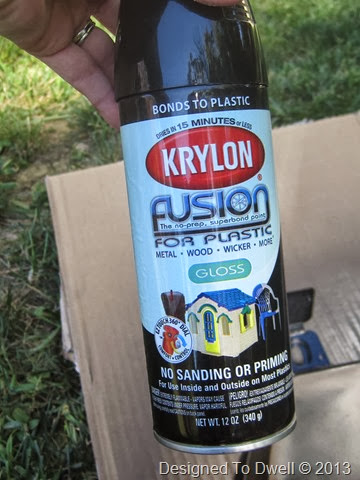
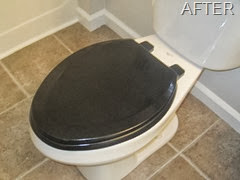
I started the first upgrade about a month ago, when I decided to spray paint the toilet seat black, to bring in some of that classic charm I was looking for.  After removing the yellow-tinged seat (Lift the flap where it is attached to the toilet base & unscrew the bolt holding it in place.) I coated it with about a million coats of this spray paint:

Painting a Toilet Seat

IMG_7750DIY Black Toilet Seat

Once it had dried, I gave it a couple of coats of spray sealer.  I decided to try & DIY this project after searching online for black toilet seats & seeing that they cost about $100.  After spending $17 on this project & realizing it probably wasn’t going to hold up, I noticed elongated black toilet seats at Home Emporium for about $18.  My DIY one will work for now, but as soon as I get my budgeted money, I will probably be replacing it!

Replacing a Toilet Handle

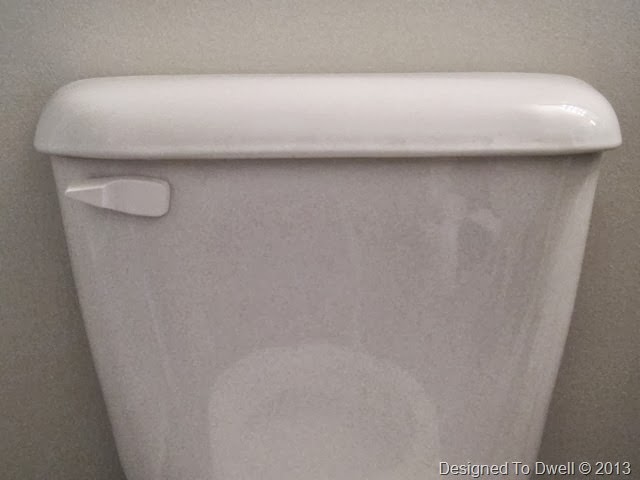
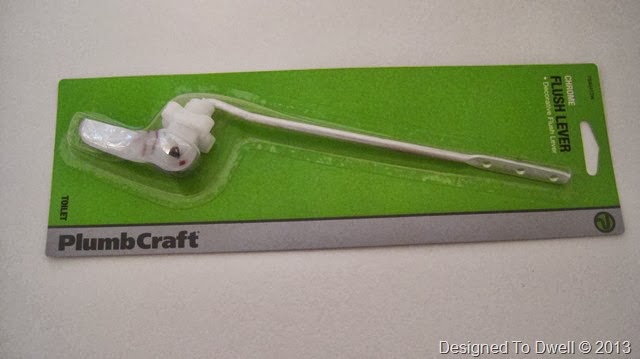
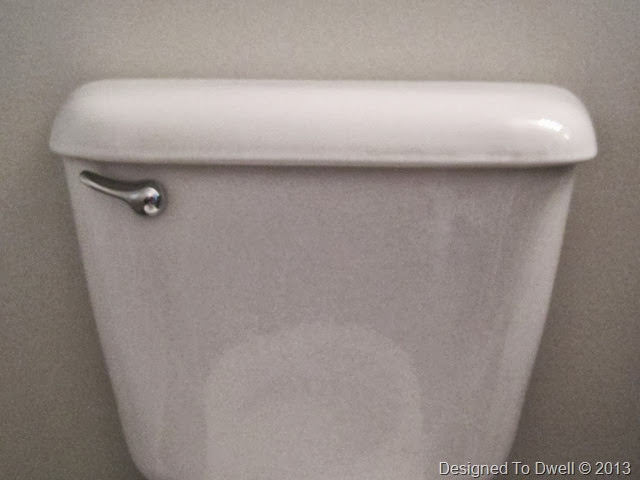
Next, I decided to replace the generic white handle that came with our toilet.  I found this chrome handle at Wal-Mart for about $4.

Replacing a Toilet Handle

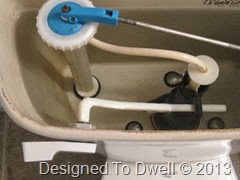
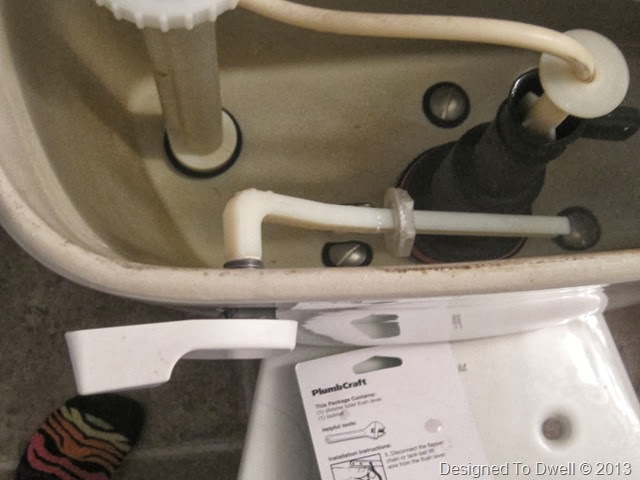
The directions on the back looked pretty easy, but when I looked inside our tank, I noticed our handle didn’t have a chain.

IMG_7873     How to replace a toilet handle

I started by unscrewing the nut on the inside of the handle.  Once it was unscrewed, I could pull out the old handle.

how to replace a toilet handle

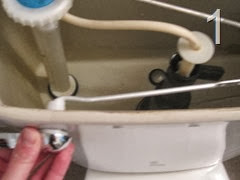
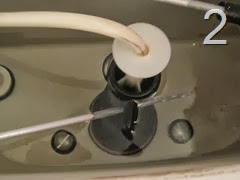
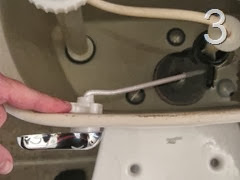
Next, I inserted the new handle (1), slid the nut on the rod close to the handle & pushed the other end of the rod into the flusher hole (not a technical term… 2), & finally tightened the nut to the handle (3).

IMG_7877IMG_7879IMG_7880

New Toilet Handle

Here are some beauty shots of the toilet now…

Updating a Toilet

Upgrading a toilet

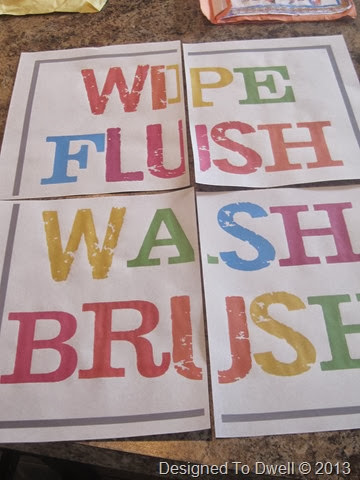
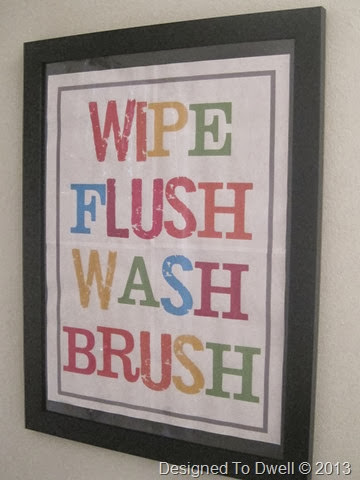
For the final part of the update, I needed some art to go above the toilet.  In Microsoft Word, I simply created a border using a text box & then added the following words in a font & colors that I liked.

bathroom art

Then, I went to my print options under “properties” & clicked on “layout”.  I chose to print this as a 2x2 page poster.

DIY Poster Art

Next, I used my paper cutter to cut the white boarder off some of the edges, so I could piece it back together.  I used a glue stick to attach each piece & finally framed it...

Free DIY Poster

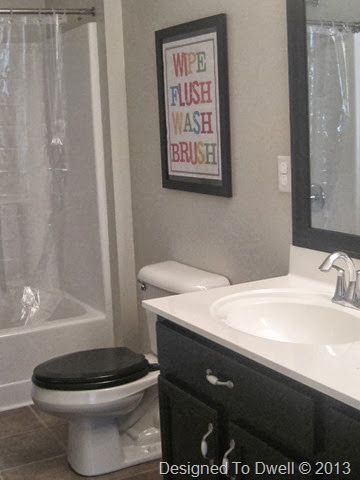
and hung it above the toilet.


Bathroom Updates


So, that’s where the bathroom stands today.  I’m currently making a mess painting curtains & things are NOT going well!  I thought I would be long done with this bathroom before the end of the challenge, but now I’m wondering if I’m even going to make it to the finish line in time!

Check back next week to see what comes of these curtains!

Sofa Saga

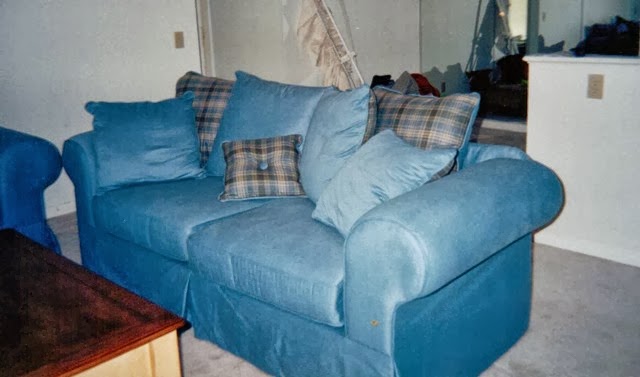
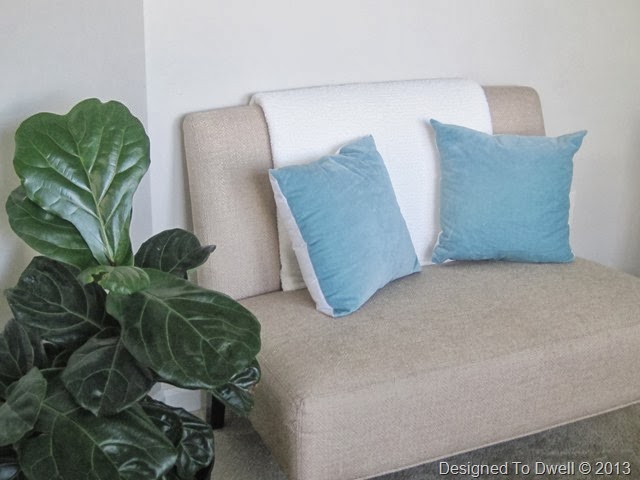
Thirteen years ago, my husband & I bought this lovely denim sofa set for our first home.  I had seen a picture of a denim sofa in a yellow room & waited for months to recreate the look in my own home!  (The picture below is a "before"!)

denim couch

When we moved to our next home, I kept the couch & the yellow walls & changed the pillow backs to a better coordinating fabric.

Denim Sofa

I have desperately wanted a new set of sofas ever since we moved to our current house, four years ago.  It was pretty low on the priority list, so I gathered up all the back pillows & stuffed everything in a three piece slip cover for a much cleaner look.

Slipcovered Couch

The current look is much better, but it still gives off the “cottage” vibes that I am trying to get away from (so does the coffee table…).  When the slipcovers began to wear & a hole formed in the arm area, I knew we were going to need to start thinking about purchasing some new sofas.  When Evie started tearing at the worn area, making a bigger, & bigger hole, I new it was time to start begging talk to my husband about purchasing new sofas!

After lots of online shopping & going to at least nine furniture stores, I decided on the Danbury Sofa in Buckwheat.


Instead of buying a sofa & loveseat, I decided to purchase two full-sized sofas for additional seating.  (I taped off the extra space to make sure they would fit.)  You might think I’m crazy for purchasing light colored sofas with three crazy kids, & that’s probably accurate!  The fabric is a polyester velvet, which I think will hold up nicely to stains & I’ll probably keep it covered for most of our everyday use (in case anyone decides to use it as a tissue).

Now, I just have to wait about eight more weeks & then I can see how it looks in person!
So, have you ever purchased a sofa online, without seeing it in person?  Prayers that it looks as good in my room as it does in the picture above!

Around the House

Last week I went to Ikea in search of some items for the kids’ bathroom makeover.  While I was there, I grabbed a couple of throws for the living room & study.

Eivor Throw

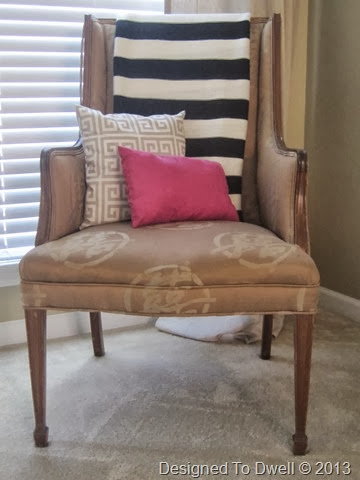
I bought the Eivor throw for the living room.  (Hopefully, I’ll recover these chairs once the bathroom is finished.)

Ransby Throw

I went with the Ransby for the study.

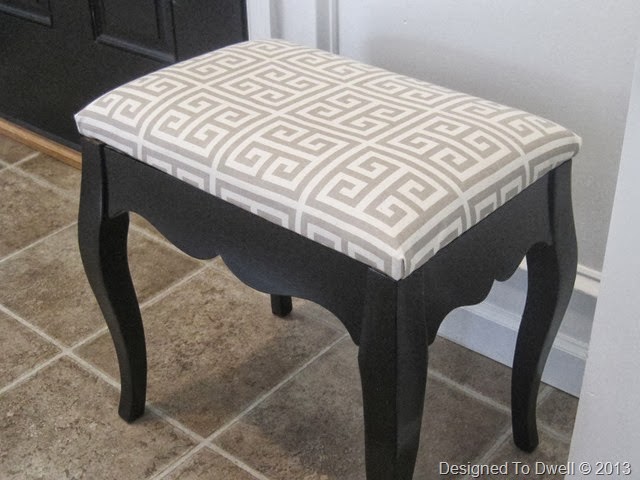
A while ago, I gave a quick update to this small entry bench.

Entry Bench

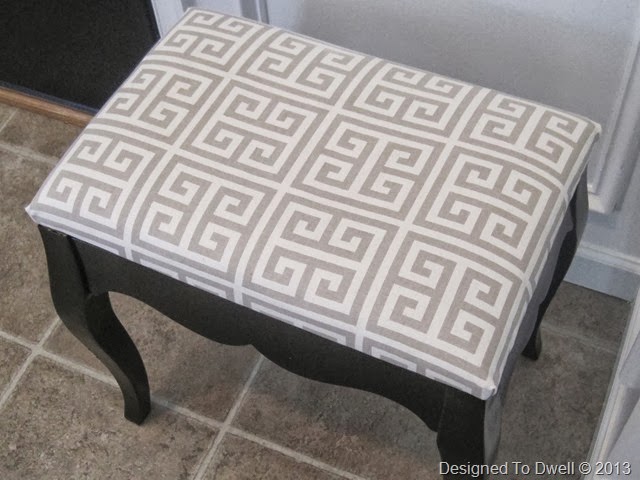
I painted the legs black & added some Greek Key fabric to the top.

Greek Key Bench

It definitely fits my style better than the version before!

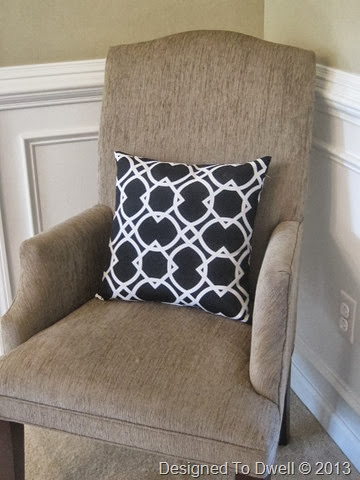
This black & white trellis pillow has been sitting in the dining room since I bought it over the summer.  It was originally meant to go outside, but I decided I liked it better here.

Black & White Trellis Pillow

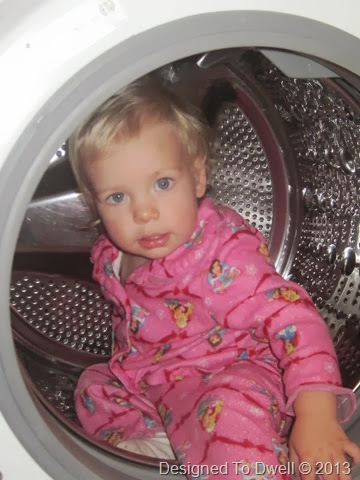
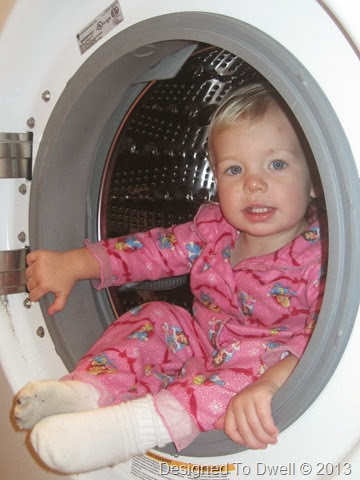
After switching the laundry to the dryer, this little cutie tried to go for a spin while I gathered the next load!  (Looks like those socks could use a good washing!)

IMG_7778IMG_7780

Obviously, I have my hands full!

There’s a Dirty Dog in the Bathroom!

I have some more bathroom progress to report for week three of the One Room Challenge.  This week, I tackled some inexpensive wall art & a place for the kids to hang their towels. 


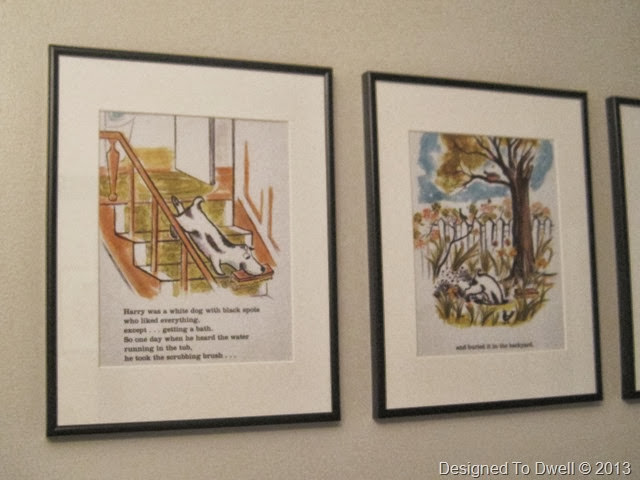
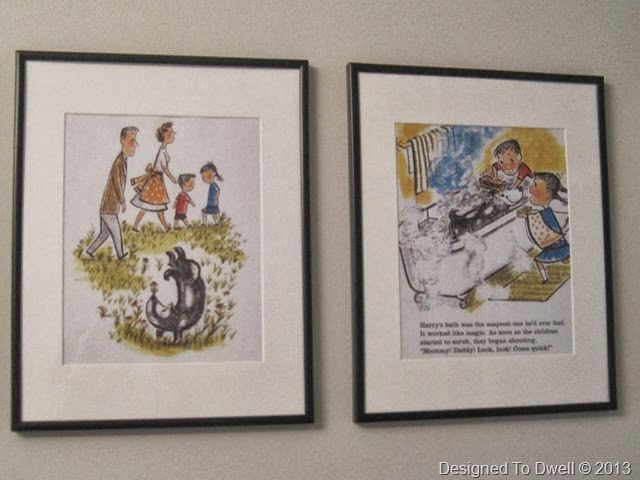
The main source of inspiration for this bathroom was the book Harry the Dirty Dog.  If you have never read the story, it is about a dog who likes everything except taking a bath.  One day when Harry was supposed to get a bath, he buried the scrub brush & ran away.  While he was away, he got so dirty that he changed from a white dog with black spots to a black dog with white spots.  When he finally returned home, his family didn't recognize him.  After desperately trying to get their attention, he dug up the scrub brush & ran up to the house.  The children ended up giving him a bath & then realized the dog was really Harry!  Since it is a story about getting dirty & taking baths, I thought it would be fun to frame pictures from the story. 

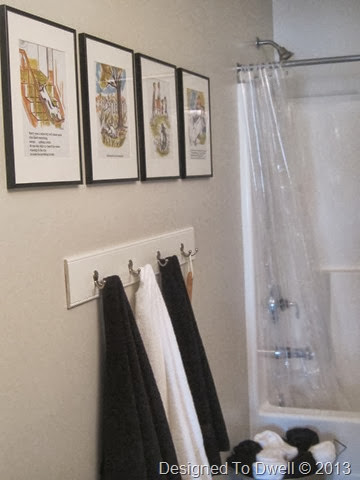
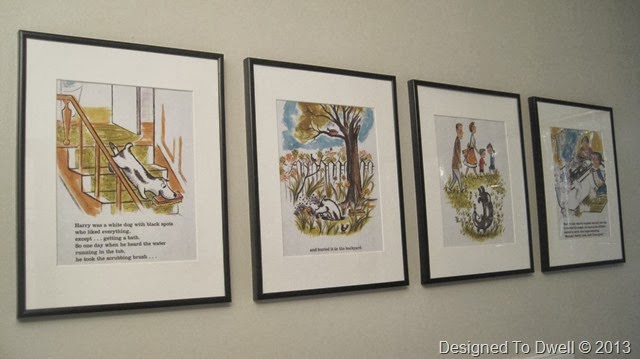
To create the art, I just scanned a few pages from the book & printed them out.  Then I grabbed some cheap frames & mats & hung them up!

Book Art

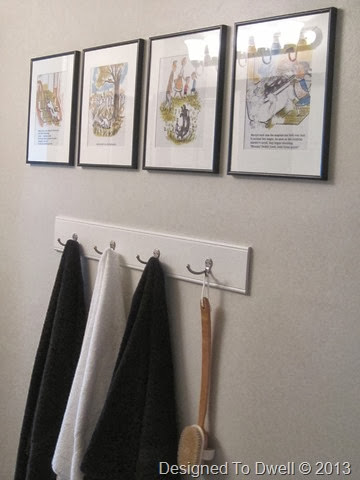
I tried to use pictures that helped convey the story.  Below, Harry steals the scrub brush & buries it in the back yard.

Harry the Dirty Dog

The next two pictures show Harry trying to make his family realize, he is their dog & finally, the kids are giving him a bath.

Framing Pages of a Book

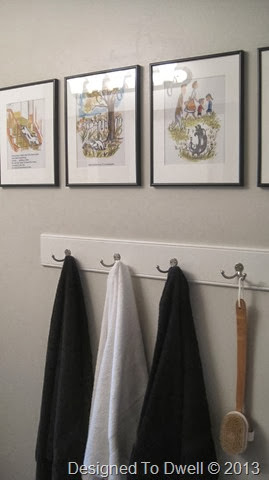
We also needed a place for the kids to hang their towels.  I used a piece of molding we already had.  Then, Mark cut it to size, added hooks & hung it up after I gave it a coat of white paint.

Towel Hooks

Of course I had to hang a scrub brush on the extra hook, to pay homage to the scrub brush Harry hid at the beginning of the book!

Harry the Dirty Dog Bathroom

So, have you ever read Harry the Dirty Dog?

Bathroom inspired by Harry the Dirty Dog

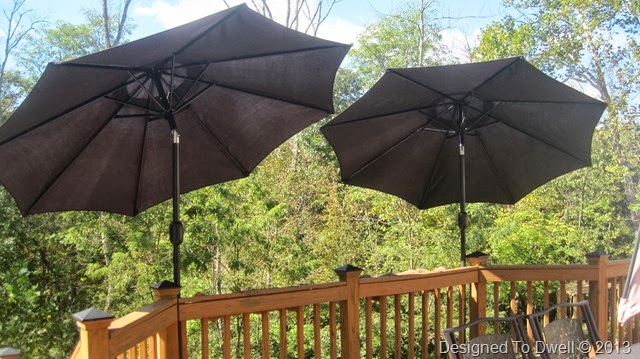
DIY Deck Mounted Umbrellas

When we built the deck off the back of our house, I couldn’t wait to start dining alfresco!  The sun sets behind our house, which has been an issue when eating dinner outside.  The table umbrella helped a little, but we needed something else to help block the sun.

Over the summer we attended a party, where the hosts had umbrellas mounted to their deck.  Mark & I both thought this would be a good solution to our problem, so we set out to buy a few tilting umbrellas & mount them to the deck.

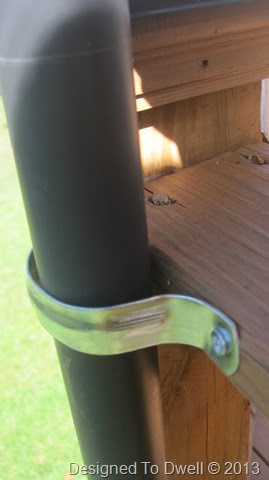
Basically, after purchasing the umbrellas, we decided on their placement.  We mounted them on the larger deck posts in the bump out.  Next, my husband added two of the fasteners (seen below) to the deck, where the bottom & middle of the umbrella would hit.

Mounting a Deck Umbrella

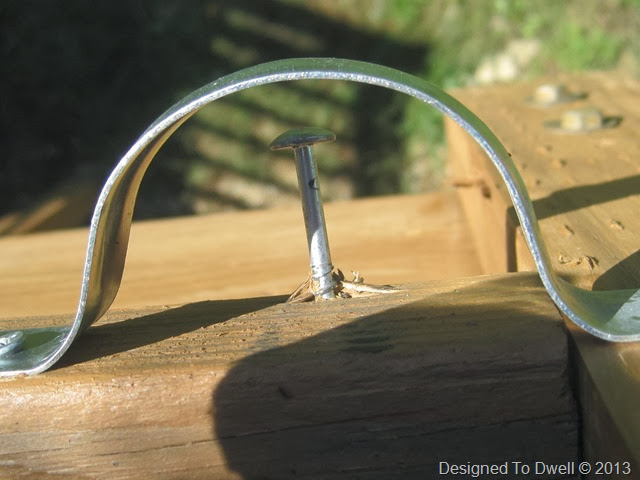
Mark added a nail below the bottom fastener to keep the umbrella from falling through.

Mounting a Deck Umbrella

Once the hardware was installed, we slid the umbrellas through.

Deck Mounted Umbrellas

These definitely help the problem during dinner time.  We also think the opened umbrellas kept our house cooler during the day, since they were blocking the sun.  Win, win!
LinkWithin

Related Posts Plugin for WordPress, Blogger...