Study Updates

We have been whittling away on the study for a few weeks now.  Here are some pictures of the progress:

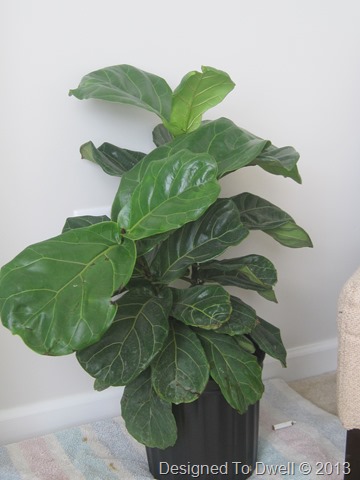
Ikea finally had Fiddle Leaf Figs when I went there a few weeks ago!  I grabbed one in hopes it can add some greenery in the study!

IMG_7381

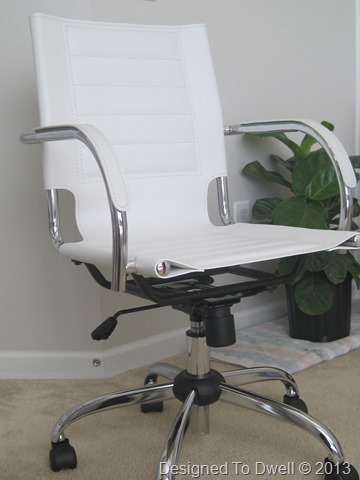
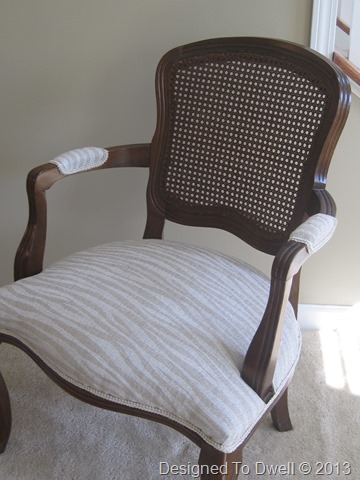
I bought this chair from Wayfair & I love it!

IMG_7376

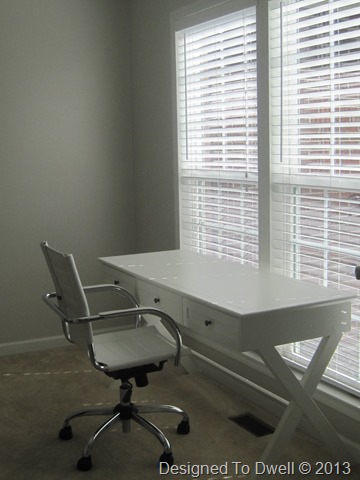
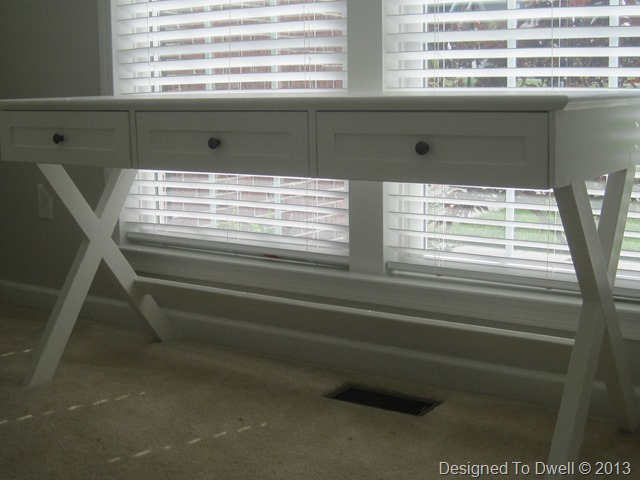
It looks great sitting by the X desk we built!  (More on that on Friday!)

IMG_7379

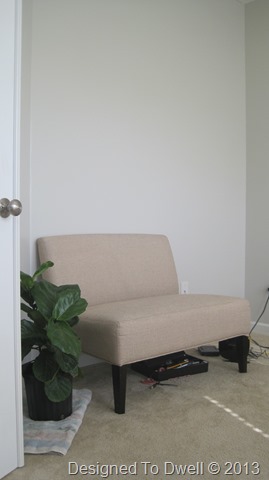
I bought this love seat for the living room after this fiasco, but once we got the new couch it moved to the study, along the wall of bookshelves.  Since we took the L desk apart, I plan on centering the bookshelves, & this love seat will work much better in this spot!

IMG_7380

We took the bookcases out of the room to paint white.  I think we’re going on two weeks now, & I still haven’t started painting them.  I am so not looking forward to that task!

IMG_7382

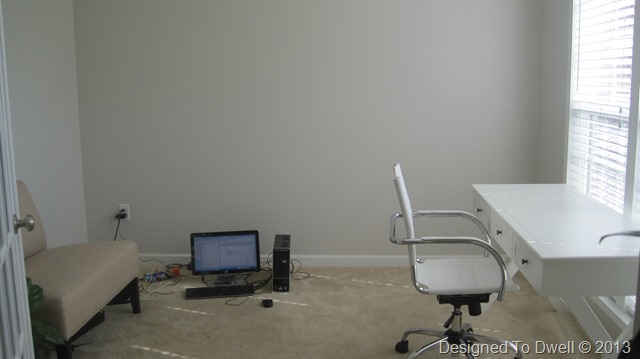
The walls are now painted Quill by Olympic Paints (from Lowes).  We also added trim around the windows, but you can’t tell it from my pictures!

Despite the fact that it is far from finished, I’m already loving it!  It’s hard to believe it looked like this just a few weeks ago!

March 344

DIY “X” Base Desk

As part of our study makeover, I decided to split up our “L” shaped desk & create two separate work spaces.  Here are a few pictures of how we created this desk…

DIY X Desk

from this…

March 341

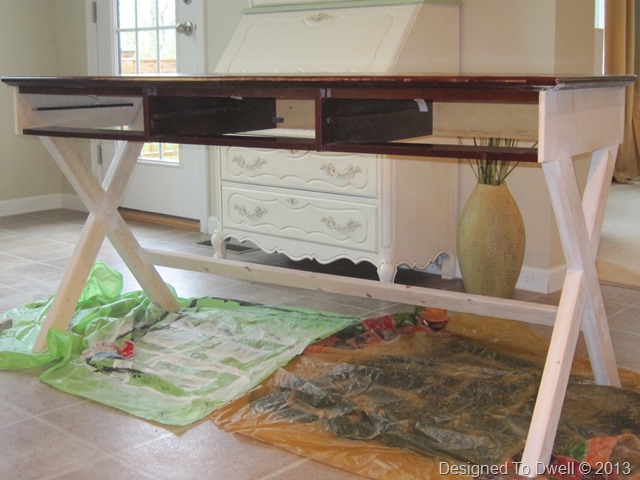
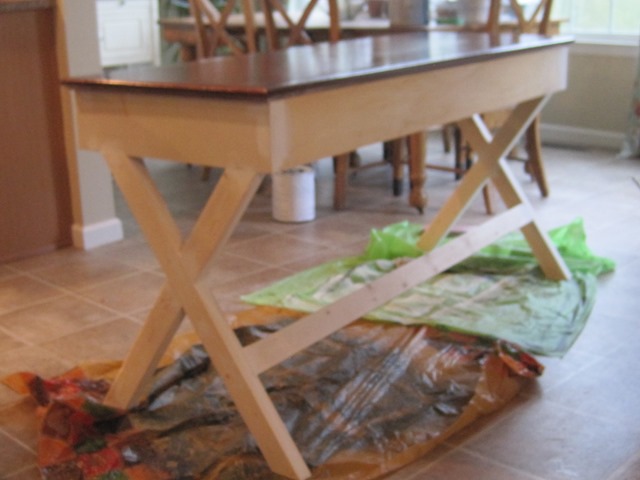
First, my husband, removed the writing desk from the bookshelf area.  Then, he removed the sides & back & replaced them with pieces of finished plywood.  Then, he created the X legs by tweaking Anna White’s plans.

He did have to remove the track from the drawers from the sides he removed & glue & staple them back on the sides he added.

Here is the front before I painted it:

IMG_7257

…and the back (sorry for the blurry picture).

IMG_7258

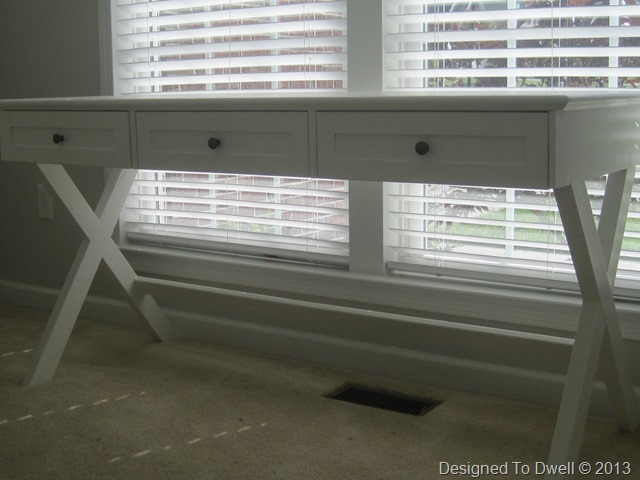
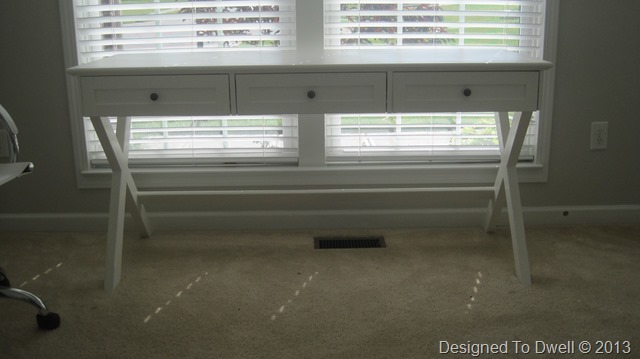
And here it is, at home in the study!

IMG_7375
I really love the way it turned out!

IMG_7374


Sharing here:
TDC Before and After

Study Inspiration

Now that I think I've finally found my design style and really like the direction the entry, living room, dining room, & family room are going, I've realized the study in this house is out of place.


The cherry wood, dark draperies, & formality don't blend well with the design in the rest of the house.  Most of the other rooms on the main floor have neutral walls, lighter draperies, & pops of bright colors.  In an effort to make this room more cohesive with the rest of the house, I decided to do a little makeover.  Here are some things that are inspiring me:

I love so many things about Shelli's office (which is now a playroom)!  I love the pops of turquoise, the bookshelf styling, the desk in front of the windows, & the white office chair.


I'm hoping to incorporate a nail head cork board like this behind the computer.


I really like the lines in Megan's X leg desk:

Source

This warm gray should be a good paint color for the room.  It's Quill by Olympic.

Source


I recently spotted this lampshade at Target that would be perfect in the room & integrate the other colors from the main floor perfectly!

I'm thinking these fabrics would go great with it:


Source: fabric.com via Wendy on Pinterest


I'm sure things will change once I actually start purchasing items like accessories, but this is a good start on the direction I'm hoping this room takes!

Sorry for all the wonky pictures in this post.  I obviously don't understand HTML!  

Living Room Pillows

The living room couch was in need of a few pillows.  After ordering fabric last fall, I finally decided to get down to business & make them!

IMG_7370

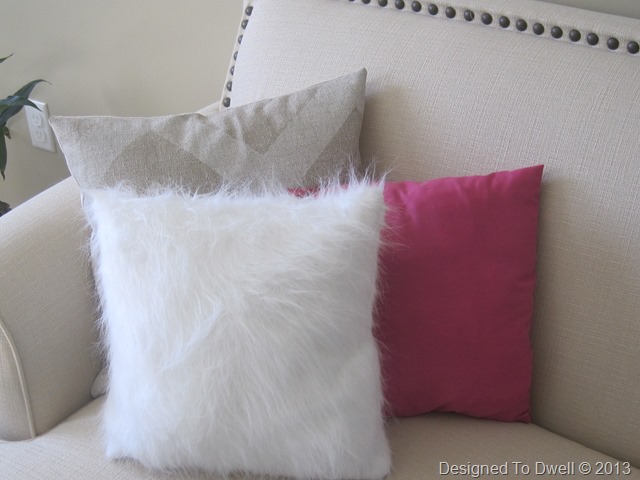
The fur adds some texture, the fuchsia adds some color, & the chevron adds some pattern to the space!

IMG_7371

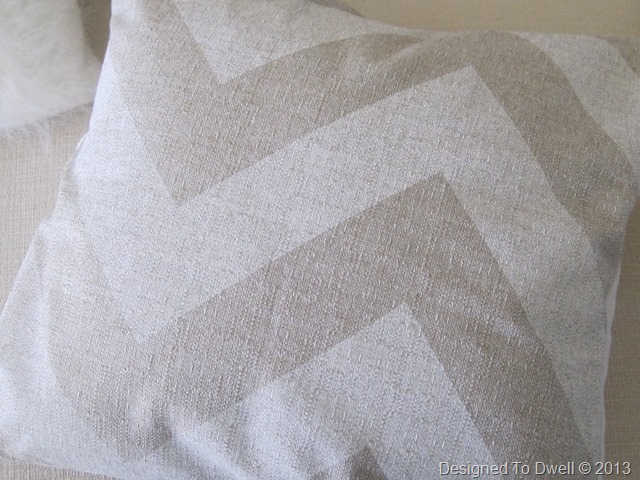
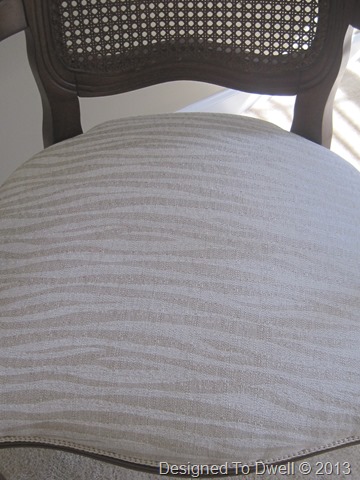
I love the neutral colors of the chevron, & it goes great with my new zebra chairs!

IMG_7391

I made an envelope style pillow & added a 16 inch pillow insert from Hobby Lobby in them.  The fur & fuchsia pillows are smaller & I just stuffed them with cotton.

IMG_7372

I am loving all the neutral with pops of fun color!

IMG_7369

Sharing here:

Remodelaholic

Around the House

Here are a few pictures around the house this week…

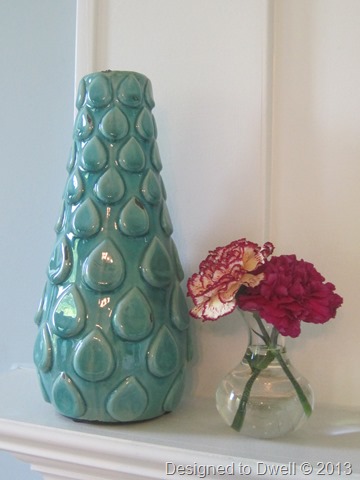
I replaced the fake flowers in the vase on the mantel with these carnations the kids gave me for Mother’s Day!

IMG_7383

Motivation hit when we talked about having our small group over & we started tackling several projects all at once.  A few weeks later, my house is a total disaster!

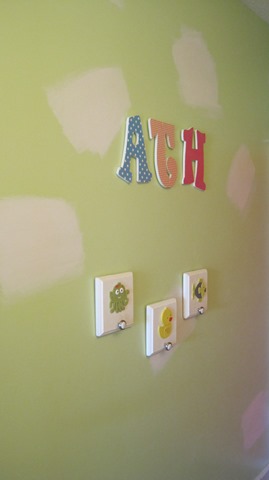
After painting the kids bathroom green, I decided to paint polka dots on the walls.  They didn’t turn out like I envisioned & I painted over them shortly afterwards, but they still showed through the paint.  During the baby’s nap one day, I decided to sand them down (with an electric sander) & prime two more coats over them.  (Yes, the wall has said “ath” for three weeks, since I took the “B” down when I painted.

The plan is to repaint the walls a different color, but we need to replace the baseboards (due to water damage) first. 

IMG_7395

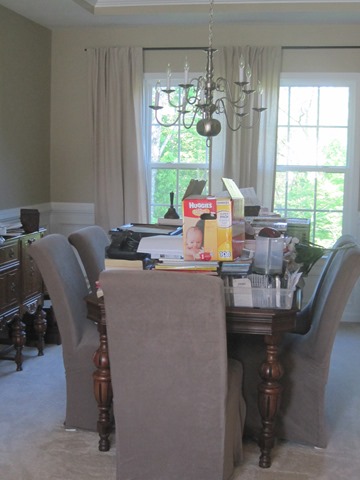
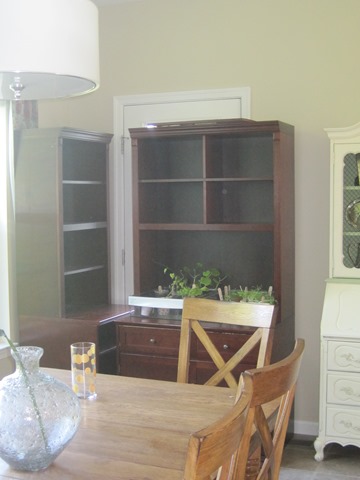
We started a makeover in our study & our dining room is now covered in the contents of the bookcases!

IMG_7373

Speaking of bookcases, they are hanging out in the morning room waiting to be painted.

IMG_7385

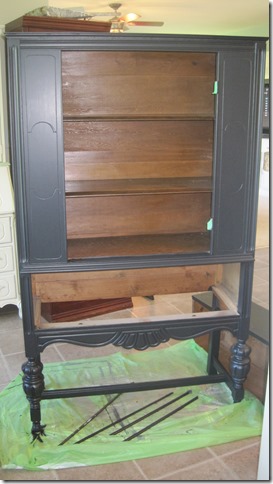
And since we’re talking about painting, this china cabinet, which sits in the living room is about to receive it’s third coat of black paint, since the first two weren't the right shade or sheen.  Ugh.

IMG_7384

Wish me luck!  This is starting to stress me out!

Tips on Chair Re-Upholstery

Recently, I took on the dreaded task of re-upholstering some chairs in my living room.  Since this was my first somewhat difficult upholstery job (difficult meaning you can’t just take the seat bottom off the chair or stool…) I decided to share with you some things I learned… mainly from the mistakes I made!

First though, let’s look at how good they look as a whole:
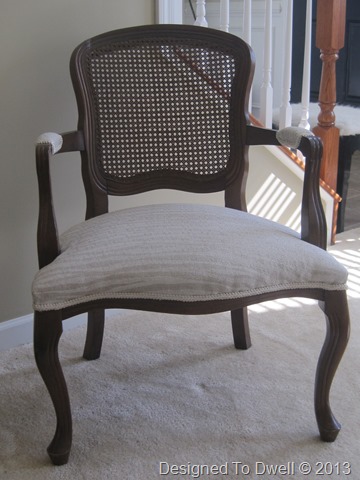
IMG_7393

For this being my first time, I think they turned out pretty good!  (As long as you don’t inspect them too closely!)

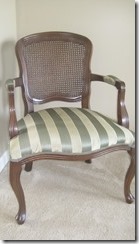
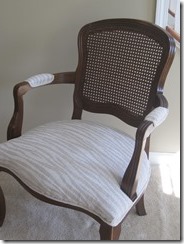
Here’s a before & after:

IMG_7228IMG_7391

Now, let’s get down to the nitty gritty & discuss some things I learned during the re-upholstery process!

1. Once you order your fabric (Miami Cloud/ Denton), immediately gather the rest of your supplies.  To re-upholster a chair like this, you will need a heavy duty staple remover, fabric scissors, fabric, trim, staple gun, staples, glue gun, & extra glue gun sticks. 

Double Rock Staple Remover

I had this fabric for about four months before I actually got the nerve to re-upholster my chairs.  After pulling off the trim, I got to work with a tiny screwdriver & hammer to remove the staples holding the original fabric on the chairs.  It was nearly impossible to get the staples out without damaging the wood.  After doing a little research, I realized there are tools to actually make the staple removing process a little easier & less damaging to the wood.  Motivation had struck, however, & I hammered on, one staple at a time.  Do yourself a favor & buy one of these as soon as you decide re-upholstery is in your future!  That way, when the motivation strikes, you will have the right tools for the job & will save yourself time & keep the wood on your chairs in good shape.

2. Before completely removing the old fabric from your chair, label each piece, noting the front & back of the chair.  You may also want to take pictures of how the fabric is wrapped around corners & arms. 
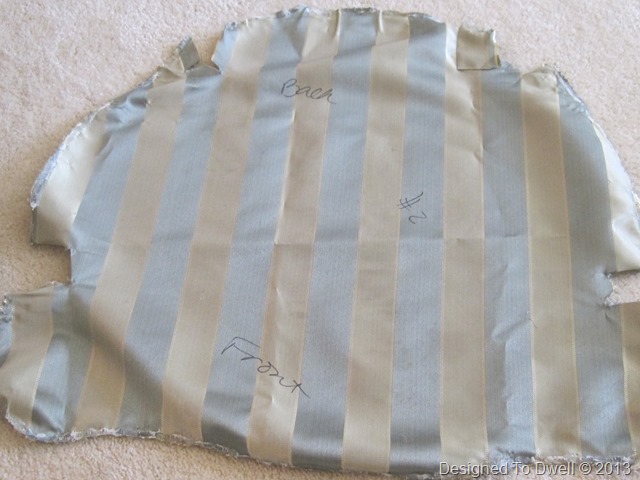
IMG_7386

3. Once the fabric is removed, you will need to trace the pattern from the old fabric onto the back of the fabric you are replacing it with.  As you trace, make sure you add a couple of inches around the perimeter.  Once your fabric is stapled on, you will trim the excess.  Once you have your pattern traced onto the new fabric, cut it out.  As you can see in the picture above, there are additional cuts in the fabric where the fabric went around the arms of the chair.  Do not cut those out.  Just cut the outline of the fabric.  You will cut around the arms as you are stapling.

4. Now it’s time to begin stapling the fabric to your chair.  Carefully, lay the fabric, right side up, on your chair, making sure the pattern on the fabric is straight & that you have a little excess fabric on all sides of the chair.  Then, carefully place a staple in the center of the back of the chair.  Once that staple is in, pull the fabric taut and add a staple to the front center of the chair.

5. For each side of the chair, you should add a staple in the center, & then move to either the right or left.  Once you get to the corner of that side, go back to the center & work your way to the other corner of that side.  (Does that make sense?)  Working from the center out will help your corners look better. 

A few times I found myself working my way from the outside edge towards the center, which caused me to have to remove staples & start over, since the corner wouldn’t work right & some excess fabric caused a poof near the center of the chair.  Avoid my mistake & make sure to move from the center towards the left (or right) & then from the center to the right (or left)!  When you get to the corner, you will be glad you used this piece of advice!

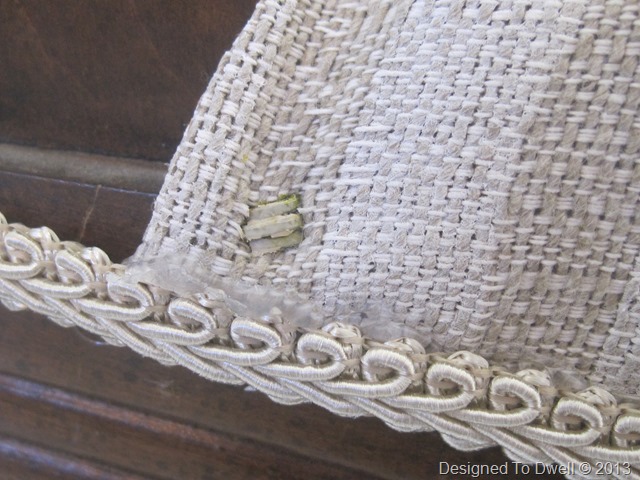
6. I used my husbands air compression staple gun.  It was pretty heavy duty & I had trouble understanding where the staples were coming out.  If you think your staple gun is tricky like that, you may want to use an old piece of wood & fabric to practice a few staples beforehand.  Otherwise, your chair might have issues like this:

IMG_7389

Notice the three staples above the trim!  Yes, I ended up stapling quite a few staples too high on the chair.  (When the air gets low, the gun doesn’t work as well, hence three staples…)  To avoid this mistake, make sure you understand where you are putting your staples, & check every few staples to make sure they are in a location that will be covered by trim. 

If you do make this mistake, you can add a double layer of trim, or you could do what I did & just add a little paint on them to camouflage them!

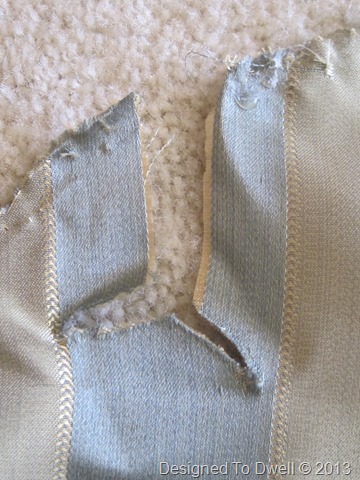
7. This chair had a few tricky areas where the arms & back attached that I needed to upholster around.  After a couple of mistakes, I took a cue from my mom & cut a “Y” shape, like the one below to get around those obstacles.

IMG_7387

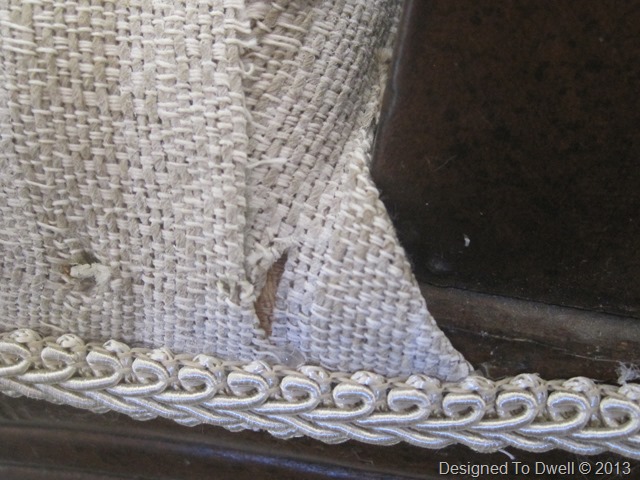
Once I cut my “Y” I folded & tucked it under the other fabric to get neat edges round the arms.  When doing this, remember, less is more…don’t cut too much, or to far away from the wood, or your edges could look like this:

IMG_7390

Oh, & notice another staple above the trim!  Oops!

8. Once you have all your staples in, it’s time to trim the excess fabric.  This is when my “too high staples” (from #6) really caused a problem.  As you cut, make sure you aren’t cutting too high.  Since my staples were so high, I made the mistake of cutting some of the fabric too high for the trim to cover.  I ended up hot gluing it back together, & luckily, it’s not that noticeable! 
To solve my high staple problem, I checked each area before cutting.  If I noticed a staple was too high, I would add a staple below it, & then cut when I was sure my staples were low enough that I could just cut below them.

9. The final step is to hot glue trim or cording around the unfinished edges.  If you have followed my advice, hopefully, your trim will actually serve it’s purpose & hide those ugly staples!  This is a pretty easy step, but you may want to hold the frayed ends of trim up to the flame from a candle to melt the fibers to avoid the frayed edges of trim from fraying more.  (I dare you to try to find another sentence that uses the root word “fray” more than that one!)  Also, remember to just glue a little at a time.

10.  Probably my most important tip is to look for videos & other tutorials for upholstering a chair before you actually take on this task.  Don’t just jump into this project when the motivation strikes, make sure you know what you are doing first!

Tips for Re-upholstering a Chair

So, have you recovered anything lately?  Made any of these mistakes?  I’d love to hear how your projects turned out, & if you made any of the above mistakes, let me know I’m not the only one!

Sharing here:

Remodelaholic

TDC Before and After

Teacher Gifts

As the end of the year approaches, I start thinking about gifts for the kids’ teachers at school.  We usually just give everyone (school custodians, secretaries, nurses, unified arts teachers, principals…) $5 gift cards for ice cream along with a little something else for the kids’ classroom teachers, like I showed you last year

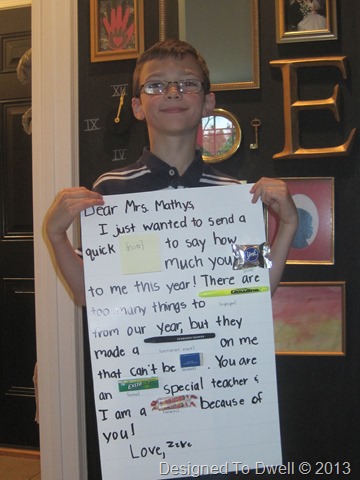
Last week we whipped up a little something for Teacher Appreciation Week.  While that has come & gone, I thought I would share the idea since it could also be used as gift for the end of the year.

IMG_7341

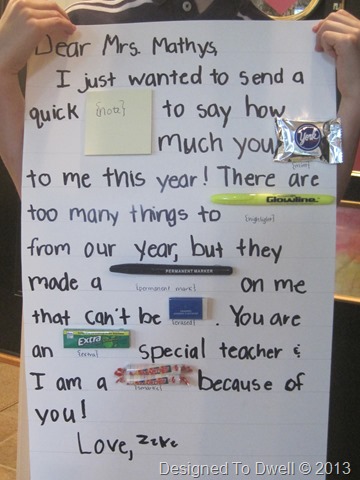
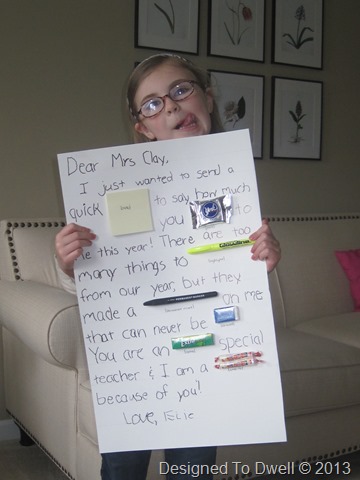
Basically, it’s a take on the candy letters, but also using school supplies.  I found the idea here but changed some of the wording.  We used post-it notes, peppermint patties, highlighters, permanent markers, erasers, Extra gum, & smarties.  You can find all of the supplies at Dollar Tree, in packs of 4 or more, which makes this a very economical gift!

IMG_7342

This one reads:
Dear Mrs. Mathys,
I just wanted to send a quick {note} to say how much you {mint} to me this year!  There are too many things to {highlight} from our year, but they made a {permanent mark} on me that can never be {erased}.  You are an {extra} special teacher and I am a {smartie} because of you!
Love,
Zeke
IMG_7344

Do you have any other ideas for teacher gifts?  I’d love to hear them!  Feel free to post links in the comments section!

LinkWithin

Related Posts Plugin for WordPress, Blogger...