Making Chores Fun for Kids

“Did you feed your fish?  Get dressed.  You need to make your bed.  Today is laundry day, so please bring your baskets down.  What do you want for breakfast?  What do you want for breakfast?  If you don’t tell me what you want for breakfast, I’m going to pick something for you.  Please put your dishes away.  Did you brush your teeth yet?  GO BRUSH YOUR TEETH!  Time to get your shoes on.  Get your coat on.  Get your coat on.  GET YOUR COAT ON!  Where’s your backpack?”

This is how my mornings usually seem to play out.  A tired mom trying to rush her children through their morning routine by giving command after command and repeating phrases over and over.  Sadly, I end up doing more things for my children than I should because I know we’ll miss the bus if I don’t make their beds or set out their clothes or put the toothpaste on their toothbrushes.  Well, those days are over…(hopefully). 

I am determined to make my children more accountable for getting themselves ready in the morning and for helping around the house!  Doing everything for myself, a baby, and two capable children is exhausting & to be honest, isn't helping grow them into responsible adults.  In the past, chore charts didn't work for us.  My kids are beyond doing things for stickers or check marks.  Paying them proved unsuccessful, since we never seemed to have cash, and lets face it, we are letting them live here for free, they need to earn their keep!

Then, one night, a light bulb came on!  What if I turn the chores into a game, Chutes & Ladders style?  For the next week or so, I thought about how the game would work.  My plan was to come up with a list of chores, assign points to them, & create a game board to set my plan in motion.  Here is how it turned out:
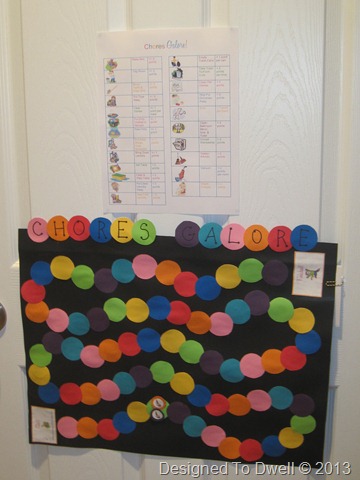

IMG_6757

Yes, I gave it a title & a tagline!  (Chores Galore:  Clean Your Way to the Finish Line)  Pretty sure my husband is still laughing in his head at me!

After coming up with a list of chores & points, I created a table with pictures, words, & the points for each chore.
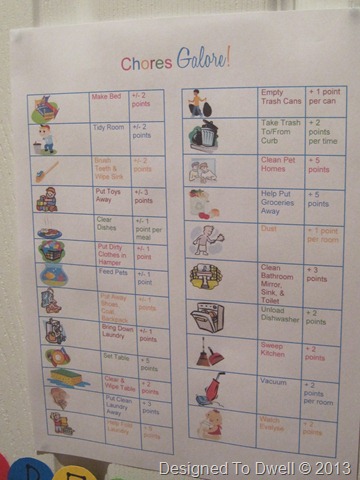

IMG_6750

For the mandatory chores, they either get points for doing the work, or lose points if they forget to do their chore or if they have to be reminded.  Making the bed is mandatory, so if the kids do it, they can move their “vacuum” up two places, however, if they forget or have to be reminded, they have to go back two places.  I like the visual aspect that they can see if they are progressing well or not.

Some of the chores are bonuses.  For example, setting the table is not a mandatory chore, so the kids will not lose points if they don’t do it.  However, if they choose to set the table, they can move ahead more spaces.  Hopefully, we will get to the point where the kids notice what needs to be done around the house & take responsibility by doing it themselves.

After assigning chores & points, I made a game board using poster board & scrap paper.
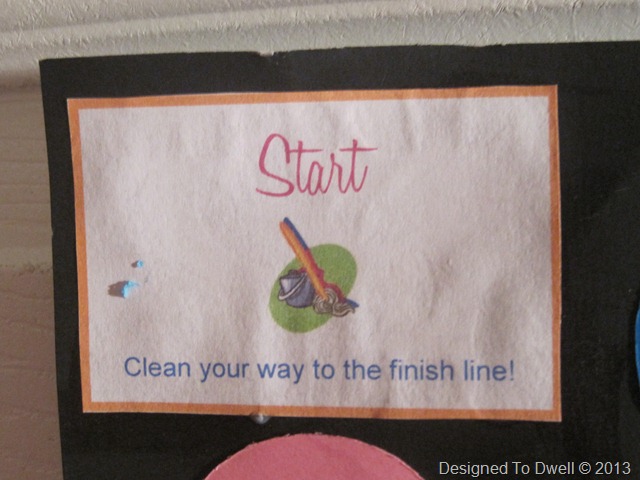

IMG_6752

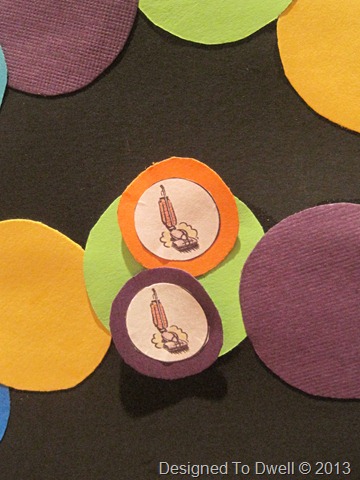
The object of the game is to be the first one to move your game piece (vacuum) all the way to the finish line by earning chore points, or as the tagline says, “Clean your way to the finish line”!  (The game pieces adhere to the board with sticky tack.) 

IMG_6755

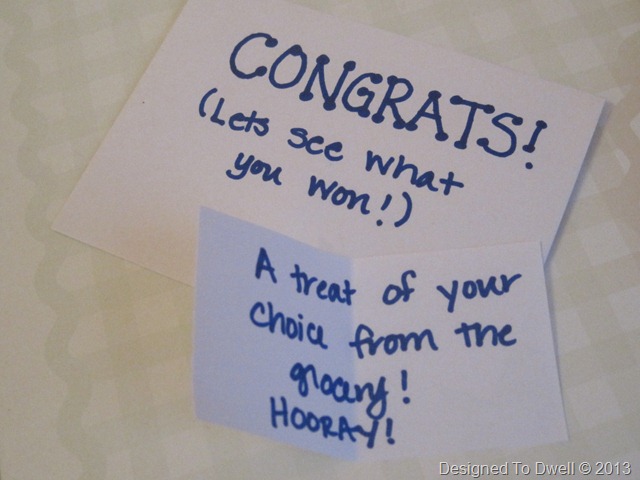
Clipped to the back of the game board, near the finish line, is an envelope containing the prize.  The winner will get to open the envelope & find out what the prize is (that way I don’t have to worry about the kids not working because they don’t like that particular prize).  The prize will be different each time.  It might be money, getting to go someplace, dinner of their choice, getting to have a friend sleep over, or something else.  Hopefully, we won’t have a problem doling out the prize (like we did paying the kids after doing their chores) since the prize gets put in the envelope at the start of the game & we are not limiting ourselves to a set prize or money amount.

IMG_6761

Yesterday afternoon, I hung the game board & point sheet in the toy closet between the kids’ rooms.  I also placed another point sheet on the pantry door, as a reminder of the system.  Then, before the kids went to bed last night, I explained how to play the game.  I went through the list of chores & explained my expectations of how each chore needed to be done in order to receive points.  For instance, when the kids brush their teeth, they also need to rinse their toothbrush and the sink, wipe the counter, & put their toothbrush away.  Points are earned for doing chores correctly and deducted if the kids forget a chore or have to be reminded.  Since this is our first week, I anticipate that I will have to remind them of my expectations & how to properly do each task.  I will probably be a little more lenient with chores this week as we ease our way into this new system.

So, how did the first morning go?

When I came out of my room this morning, both of my children had made their beds, gotten dressed, fed their pets, tidied their rooms, & had their laundry baskets waiting in the hallway to take downstairs…all without me having to say a word!  Obviously, they are excited about this new system!  I think it helps that they never really know what the prize will be until they finish the game & get to open the envelope.

Now, I know this system isn’t perfect & will need to be tweaked.  But, I also know that it will probably continue to work for us as long as we are disciplined enough to keep it up.  I think with the other chore charts, our kids lost their enthusiasm for working because we kept falling short on our end.  Hopefully, turning our chore chart into a game will make it easier to keep track of & follow through.

Wish us luck!

(P.S.  I’ve already thought of four other tasks I want to add… 1. Bring in trash & other items you brought into the van +/- 2 pts., 2. Miss the bus –5 pts., 3. Forget to wash off after meals –3 pts., 4. Get caught eating in the family room –5 pts.  I realize these aren’t all tasks, but a few behaviors that are either a result of not being efficient or cause me more work, like having to wash the couch covers when the kids eat in the family room!)

Also, if you are concerned about me letting my 6 & 9 year old watch the baby, don’t worry!  I would never leave any of my children home alone, they are much too young!  Sometimes I do ask them to keep an eye on her (while she is gated) so I can run to the mailbox or up the stairs.  (If they do, they’ll get two points for it!)

A Backwards & Forwards Look at Goals

Back in January of 2012, I made a list of all the goals I wanted to accomplish on our home for the year.  Sadly, of the 11 items on my list, I was only able to cross off four!  Of course, I tweaked the list a few times & added more items!  Oh well!

Below are the items I was able to cross off my original list of goals:

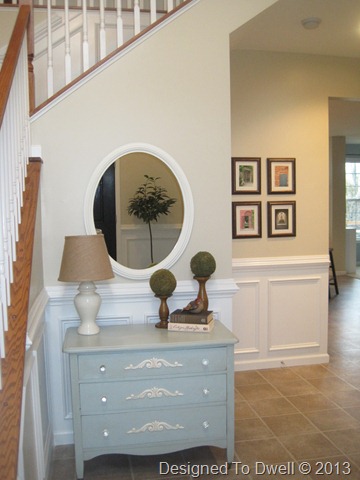
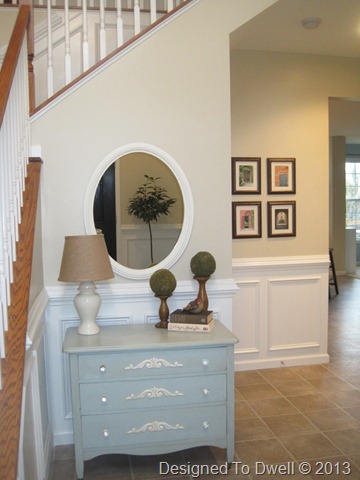
I finished up the entryway:

IMG_3778


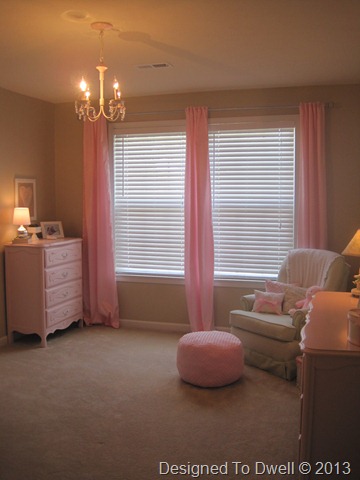
The guest bedroom was transformed into a nursery:

IMG_4534


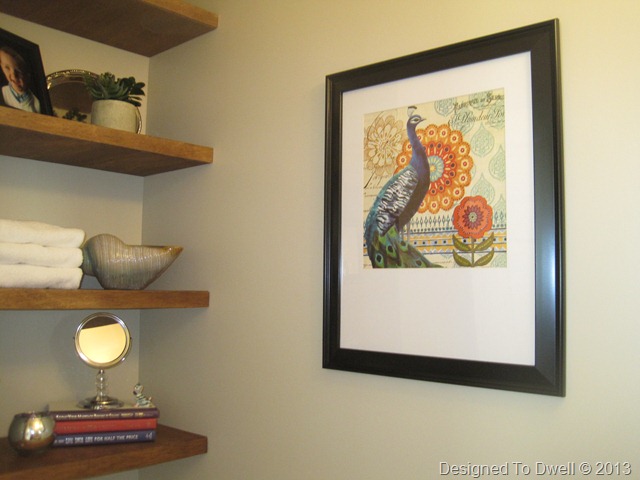
We added storage in the half bathroom:

IMG_4689


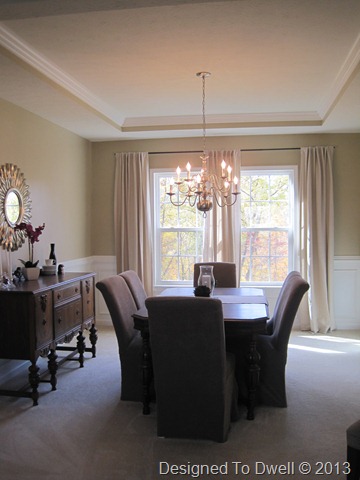
And the dining room was finished up:

IMG_5858


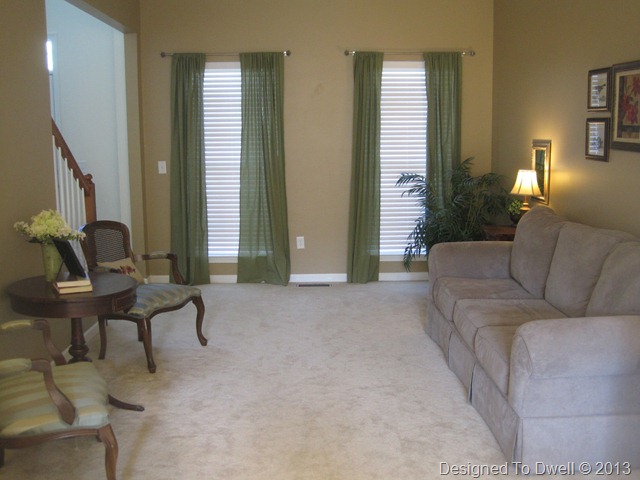
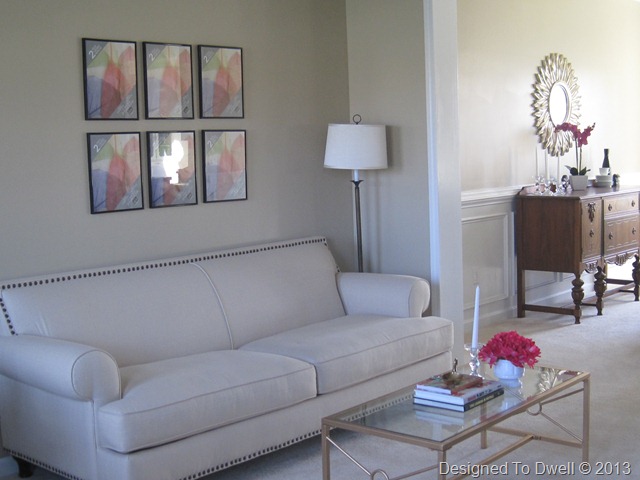
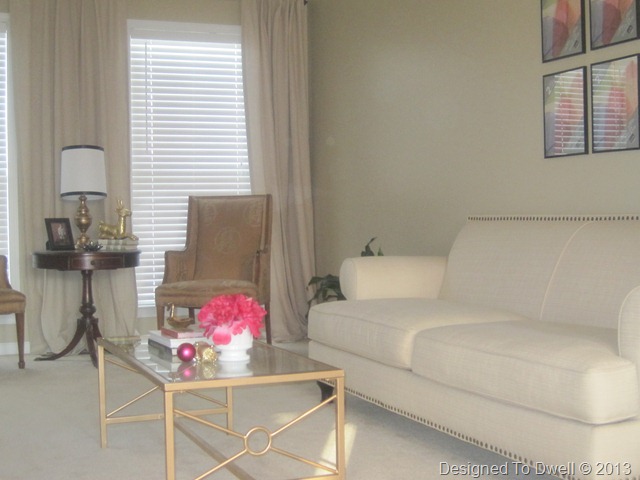
While I didn’t finish up the living room, progress has been made, & it does look much better:

IMG_3307


IMG_6077


I didn’t even touch the master bedroom, master bathroom, kids’ bathroom, study, laundry room, or back porch!  What was I thinking?

This year, I am really going to try & be more realistic!  Here’s what I’m thinking I’ll try to accomplish for our home this year:

1. Finish up the living room, which means recovering four chairs, making pillows, adding art & accessories, & fixing/painting the cabinet.

IMG_6602


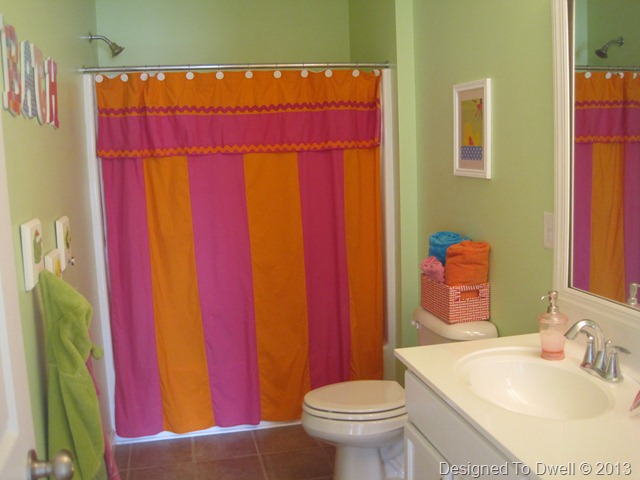
2. Makeover the kids’ bathroom by sanding, priming, & painting the walls, vanity, & mirror frame, and adding artwork, hooks, a shower curtain, & a new rug.  We will also need to replace all the baseboards, as they were ruined when the kids took showers without using the liner.  Grrr…  It sounds like a lot, but hopefully it can all be done in about a weeks time!

IMG_3293


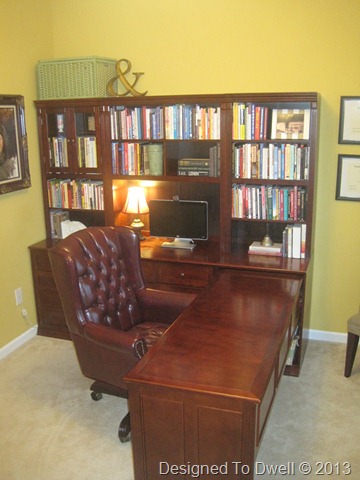
3. It seems silly that the third thing on my list is to re-do the study, which was finished a couple of years ago (especially since our bedroom hasn’t been touched) but it really doesn’t fit what my style is now & it’s one of the first rooms you see when you enter our home.  I’m hoping I can change the look with paint (on the bookshelves & walls), new curtains, a free-standing desk, desk chair, & accessories.

March 341


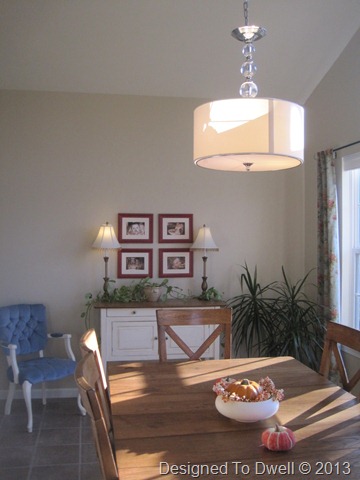
4. Change up accessories in the morning room to fit my design style.  I’m hoping to find an everyday centerpiece for the table, as well as accessories for the buffet (which I’m thinking of changing from cream to white) & a new pillow for the chair.  I may even switch out the secretary for one with cleaner lines.  I’d love to get new chairs for the table, but probably won’t be able to make any big purchases since we’re trying to get our new van paid off.

IMG_3569


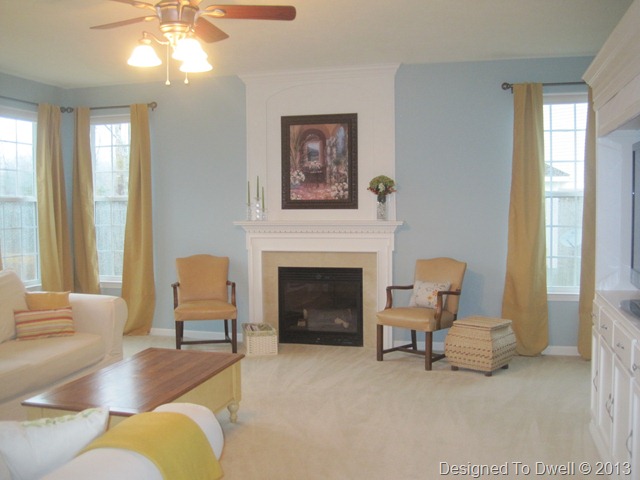
5. Make some changes in the family room by adding art above the gold chairs, hanging the mirror & accessorizing the mantel, adding a plant in the back corner, a console behind the loveseat, a small dresser to replace the toy bookshelf, & a large storage ottoman to replace the coffee table.  I would absolutely love to get all new furniture for this space, but I don’t think it’s going to be feasible this year.

IMG_2693


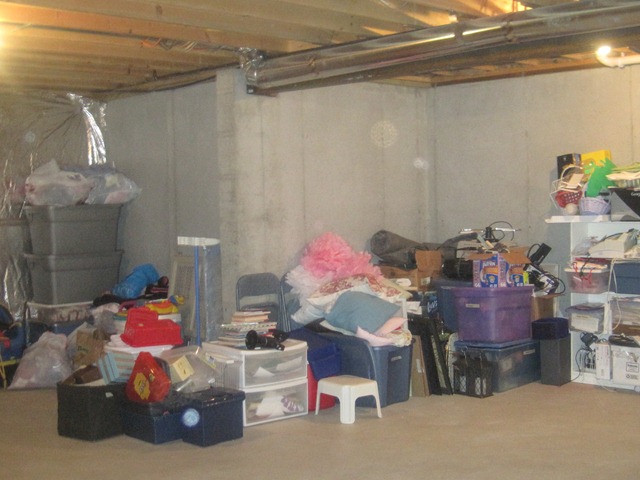
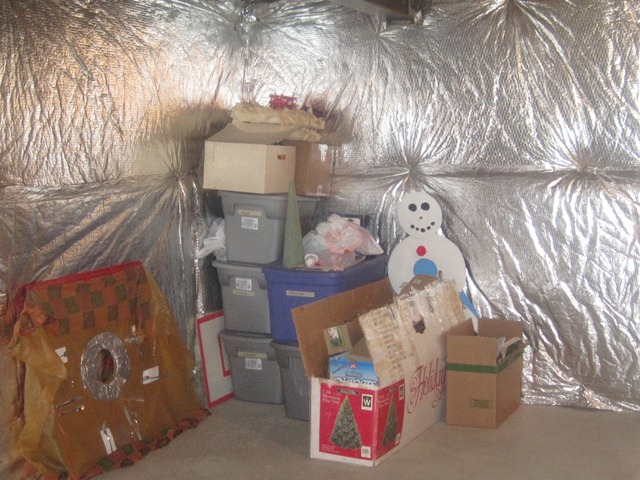
6. Add shelving in the basement & try to condense the storage area to where it will be when we finish the basement.  (Right now, the basement is (kind of) organized, but full.

IMG_6598


7. ORGANIZE, ORGANIZE, ORGANIZE!  I consider myself a fairly organized person, but I’m realizing that some of my systems just aren’t working.  I’m hoping to tackle organizing the following areas:  hand-me-down baby clothes, shoe storage, gloves/hats/scarves, coat closet, batteries, light bulbs, flashlights, magazines, photos, games, DVDs & CDs, fabric, art supplies, wrapping supplies, school supplies, books, & kitchen storage.

IMG_6597


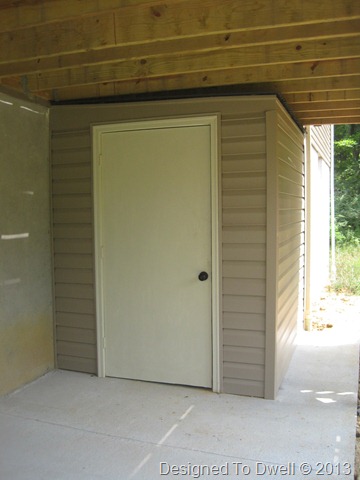
8. Beautify the patio under the deck.  Hopefully, we can fix & paint the door, add ferns, lanterns, hang a porch swing, add a rug, & hide the back concrete wall.  I’d also love to landscape the area to the right of the patio, near the basement stairs.

IMG_3302


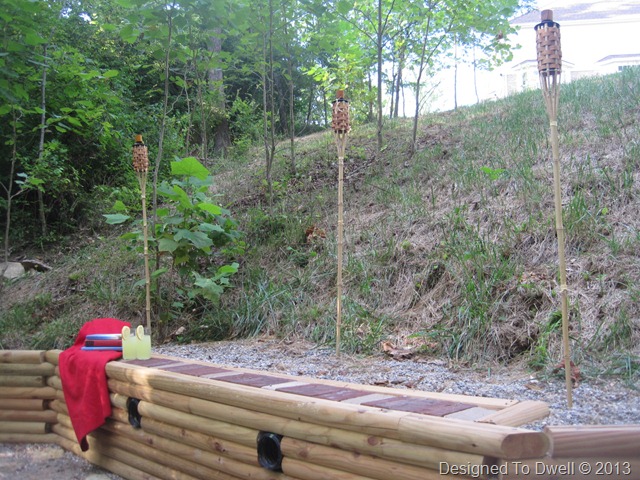
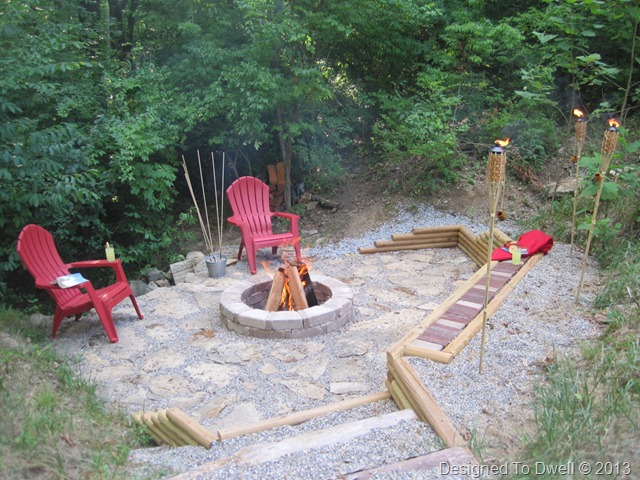
9. Add some decorative grass behind the fire pit bench & get 1-2 more red Adirondack chairs.

IMG_4800


10. Add some curb appeal by painting the front door black & re-hanging the shutters on the arched window.  The window looks too bare without them.  (My husband is going to LOVE me for this one!)

IMG_3106


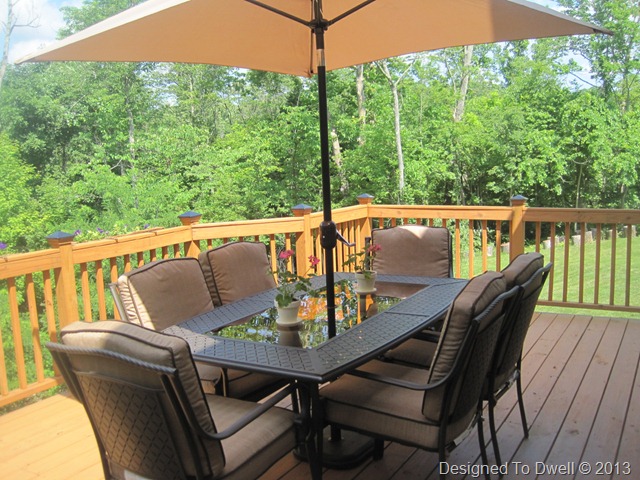
11. Grow some fruits & veggies.  I’d love to save some money on produce this summer by planting a small garden.  I’m thinking of somehow doing this on the deck, since I wouldn’t have to worry about the deer & it would be right off the kitchen for picking & watering. 

IMG_3100


Aw, crud!  It looks like I’ve gone overboard again this year!  I’m okay that this list most-likely won’t get finished & will probably get tweaked (although I’m really going to try & not change projects around).  I don’t plan on stressing out about getting things crossed off.  Instead, I plan on using it as a guide to keep me focused on what projects I can be focused on.  (At least, that’s what I keep telling myself…)

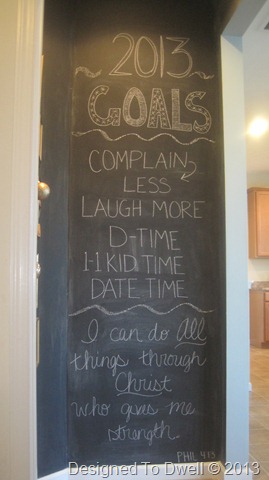
On top of these goals, we also came up with some personal & family goals.  I posted our family goals on our chalkboard wall & they will remain there all month.  Here’s how it looks:

IMG_6596 


Time to start working!  First things first:  Taking down the Christmas decorations!

Top Posts in 2012


When I started thinking about putting together a list of the top projects on this blog for 2012, I wondered if I even accomplished ten “good” projects this year!  After going through all the posts from the year, I was pleasantly surprised to find some great posts I had forgotten about!  So, in case you are new to the blog, or would just like a re-cap of the year, here are the ten most viewed posts published in 2012:

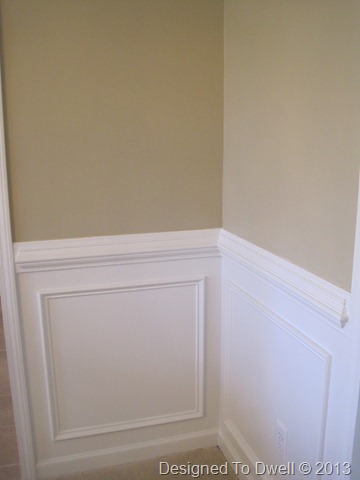
Tips for Installing Chair Rail & Wainscoting

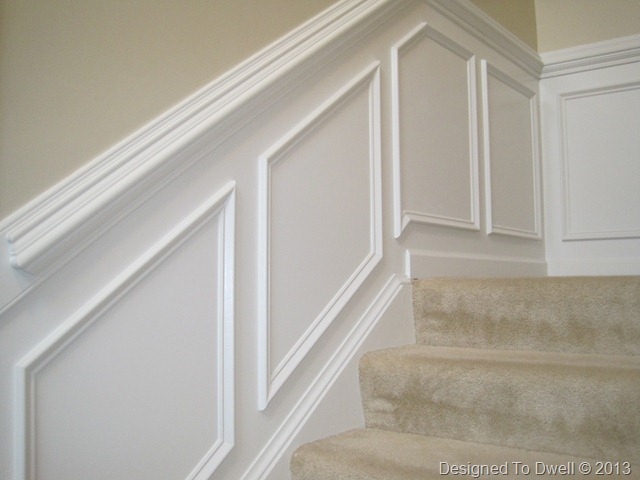
In this post I went into detail about how we installed the chunky chair rail & faux wainscoting in our entry & hallway.  When we started this project we had a hard time figuring out how big to make the boxes, how much space to put between them, & how to handle awkward angles.  Hopefully, this post will make it easier for anyone installing chair rail & wainscoting.

IMG_3790


Adding Storage In a Tiny Bathroom

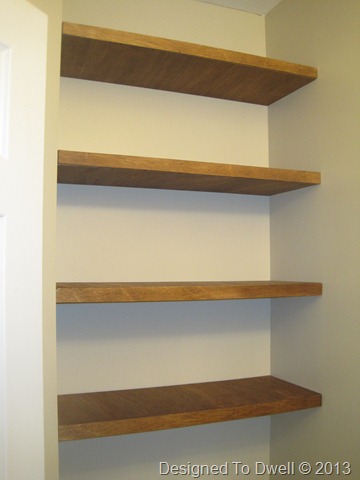
We decided to take advantage of vertical wall space to add storage in our small half bathroom.  This post gives a quick tutorial for how we built the floating shelves above the toilet.

IMG_4671


Handy Half Bath

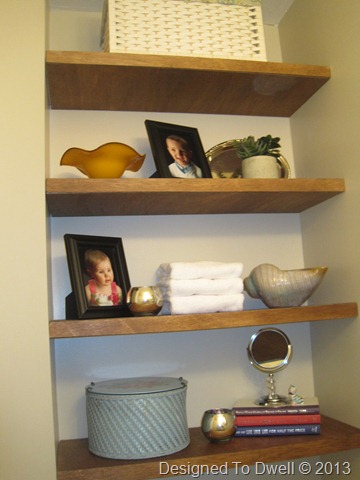
Here you will find pictures of the finished half bathroom, once the shelves were styled, artwork was hung, and new accessories were added.

IMG_4684


The Entryway

The entryway had been in the works since 2011, but after a couple of bad paint choices, procrastinating on painting the 18-foot ceilings, and a last minute decision to add chair rail and faux wainscoting, it didn’t get “finished” until January of 2012.  Clicking the link above will take you on a tour of the space.

IMG_3778


More Molding

We decided to add more chunky chair rail and faux wainscoting in the dining room.  This post shows how we did it & answers a few more questions that came up.

IMG_3865


Creating An Outdoor Fire Pit

Our backyard has a huge slope to it.  When we realized there was a small flat area near the end of the hill, we decided to take advantage of it & create a fire pit area.  I handed this project over solely to my husband and eight-year-old son.  This post is a play-by-play of how they did it.

Creek Stone Patio


So Fa-ortunate

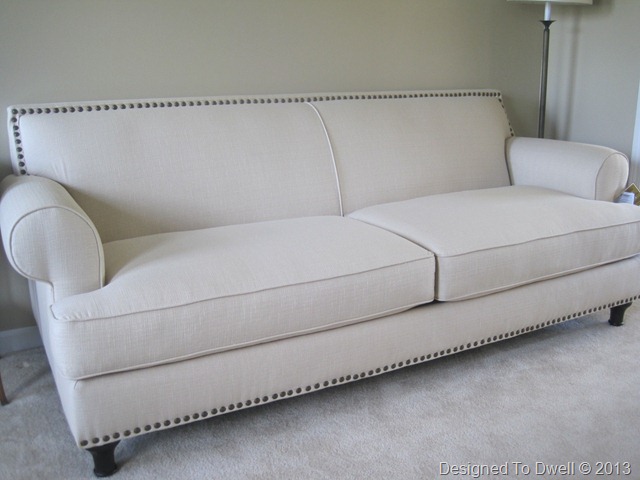
I was so excited to purchase the Carmen Sofa from Pier One, that I showed it off in this post!  I guess many of you liked it too, since it made the top ten!

IMG_4589


The Nursery

The nursery was finally revealed a little after Evalyse turned three months old!

IMG_4534


The Dining Room

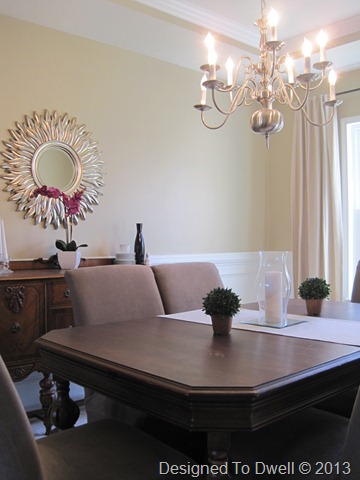
I’m so glad to have the dining room finished up!  I am still liking the clean, traditional-modern look it has going!

IMG_5862


Stylish Storage

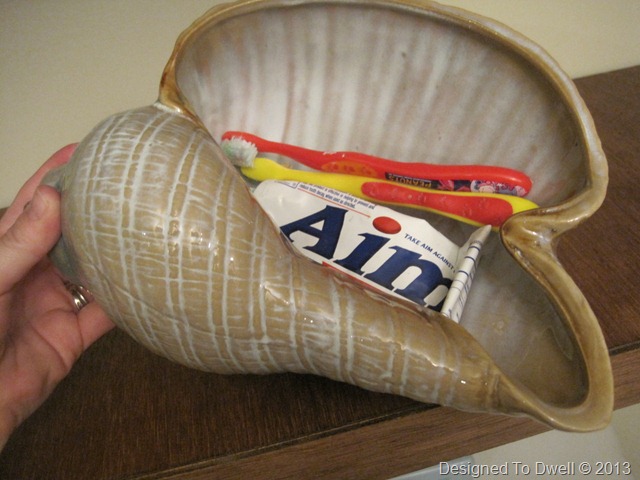
Last on the top ten list were the inconspicuous storage solutions I used for all the bathroom accessories filling our open shelving.  The system is still working great! 

IMG_4670


A few of my favorite projects from the year didn’t make the top ten, but lucky for you, I’m sharing them again anyway!

Toy Troubles

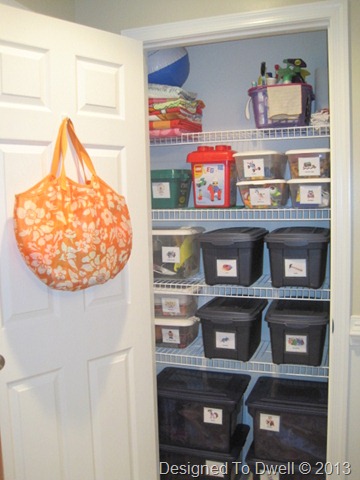
Now that Evalyse is mobile, I needed a space to stash all the big kids’ hazardous toys from her awesome pincer grasp!  Not wanting to have to worry about the mess or danger on the main floor & not wanting them to be able to play in their rooms when they are supposed to be “calming down”, I decided to repurpose this linen closet (between their rooms) for their toys.

IMG_5244


Glamorous Gold

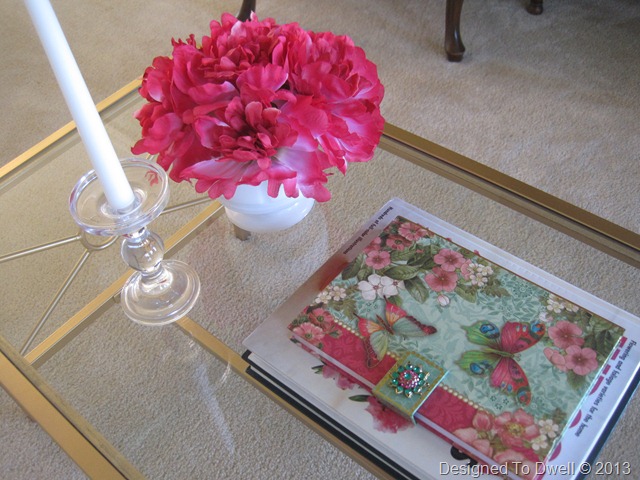
After a couple of coats of gold spray paint, I am loving the addition of this coffee table to our living room!  (Now to finish the rest of the room…)

IMG_5913


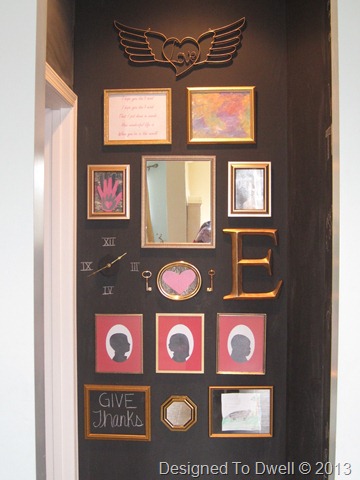
Black & Gold Chalkboard Gallery Wall

Painting this nook with chalkboard paint and adding gold accessories added drama & gave the space some personality.

IMG_6042


Well, that’s the best I have for 2012!  Next week I hope to post my goals for the year.  This time, I will really try to be reasonable!

Sharing here:


TDC Before and After

Happy New Year!

The Christmas cards didn't make it out this year, but hopefully, these will make it in the mail before Valentine's Day!


Hoping you truly have a wonderful year!  Thanks so much for taking the time to read & respond to my blog!  I really appreciate it!

LinkWithin

Related Posts Plugin for WordPress, Blogger...